 serin labs
Pair your Serin Controller with Apple Home using the free, open-source HomeKit-compatible firmware. If you installed the Matter-compatible build for Apple Home instead, use the smart home app setup guide.
Different firmware? Choose your guide.
On this page
Continue an existing setup
Keep the firmware you installed. Start at the first task you have left:
- Not installed in the indoor unit yet? Install it in the indoor unit.
- Installed, but not on Wi-Fi? Join your home network.
- Wi-Fi connected, but not paired? Add your controller to your app.
- Already paired and installed? Check that the unit responds.
Saved in this browser:
Your saved shortcuts appear beside the steps below. This record does not confirm that the controller is connected or setup is complete.
Before you start
- A compatible indoor unit and controller with this guide's firmware installed. If you have not flashed it yet, use the flash tool on a computer with a USB-C data cable.
- A 2.4 GHz home Wi-Fi network and its password.
- An iPhone or iPad. Remote access and automations require an Apple Home hub such as an Apple TV or HomePod.
1 Install the controller
Follow the installation guide to connect the CN105 cable, position the controller, and replace the cover before restoring power.
Before moving on: The cover is back on and power is restored. If you paired before installation, check that the controller reconnects to your home network.
2 Join your home Wi-Fi
Already connected in the flash tool? Continue to app setup.
- On your phone, join Serin-XXXX, using the password
serinlabs. The suffix is unique to your controller. - The setup page opens. If it does not, browse to
http://192.168.4.1while still connected to the controller's setup network. - Enter your home Wi-Fi name and password. The controller saves them and restarts on your network.
- Reconnect your phone to the home network. Check the router's connected-device list if you need the controller's IP address.
Check: Your phone is back on home Wi-Fi and the controller appears in your router's connected-device list.
Another way to join Wi-Fi, or a missing setup network
You can also enter the controller’s Wi-Fi details from a computer over USB using the flash tool's Wi-Fi option. You do not need to reinstall firmware just to change the network. If the setup network does not appear, use Wi-Fi troubleshooting.
3 Add to Apple Home
Already paired? Check control.
- With your phone on the same network as the controller, open
http://Serin-XXXX.local. Use the suffix from its setup network name, or use its IP address from the router. - Open the HomeKit panel in the web interface. Scan its pairing QR code with your iPhone or iPad, or use the saved pairing shortcut in this step.
- Follow the Home app's add-accessory prompts and confirm the uncertified-accessory notice. Assign the thermostat to its room.
Enter the code manually
In the Home app, choose + → Add Accessory → More options. Select Mini Split XXXX and enter the setup code from the controller's HomeKit panel.
If the accessory was paired before, see pairing troubleshooting. Do not erase all settings as the first step.
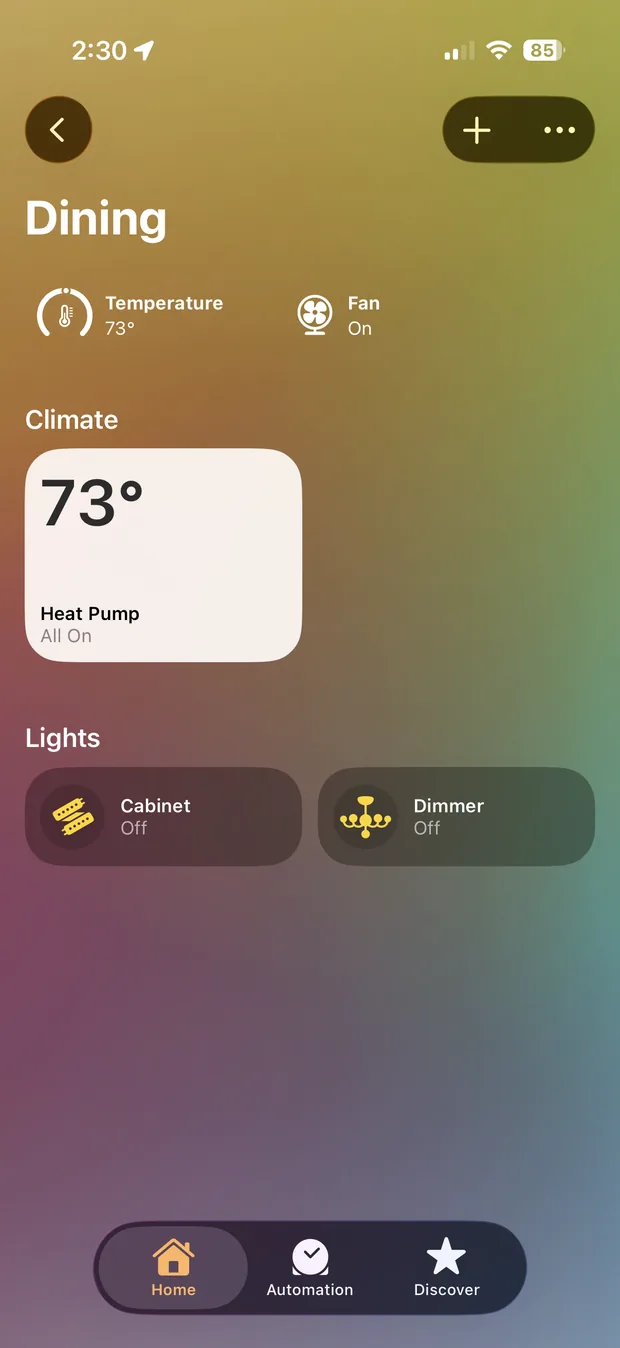
Check: The controller appears as a thermostat in your app. Next, check its connection to the indoor unit.
4 Check that the unit responds
- Open the thermostat in your app and check that it reports the room temperature.
- Change the mode or target temperature and confirm the indoor unit responds. Check that the app and controller report the resulting state.
- If the app is connected but commands have no effect, use the CN105 checks. App pairing alone does not prove the cable's data connection works.
Setup is complete when the app shows a current room temperature and the indoor unit responds to your commands.
Once control works, use the web interface for additional controls, or follow the room sensor, update, and Wi-Fi and reset guides. For another indoor unit, repeat the process with its own controller and a unique name.