 serin labs
On this page
Link displays setup codes for the selected controller. These procedures configure that controller’s network and home-app connections.
Wi-Fi setup
The Serin Controller uses home Wi-Fi for network functions. Link’s daily heat pump controls use a separate wireless connection. Wi-Fi setup and the available actions depend on the controller firmware.
Start setup or change a network
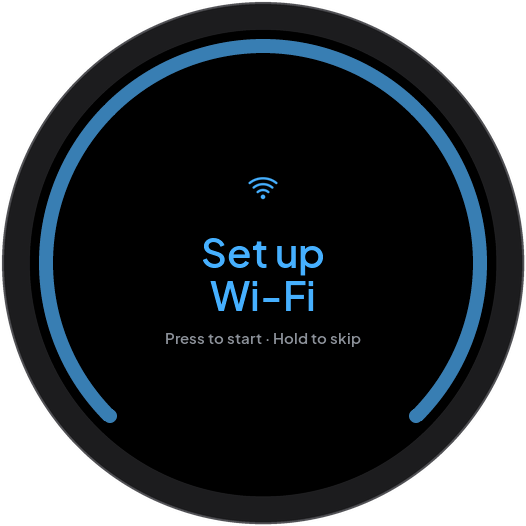
When the home screen offers Wi-Fi setup, push the knob to start. To suppress this offer, keep the knob pushed on this home-screen offer until the confirmation arc completes. This choice suppresses later automatic offers. You can still open Settings → Wi-Fi to configure the network later.
In Settings, highlight Wi-Fi. Follow the applicable case:
Scroll sideways to read all columns.
| Controller state | Action |
|---|---|
| No configured network, setup available | Push the knob to start setup. |
| Configured network disconnected, setup available | Push the knob to configure a network. |
| Working network with change network hint | Keep the knob pushed until the confirmation arc completes. This starts network change. |
| Working network with a reported IP address | A brief push opens the controller web QR code. It does not change the network. |
| No link, or setup unavailable | Restore the Link connection or use the controller firmware’s setup procedure. |
A network change can interrupt network functions. Release early during its confirmation arc to cancel the request.
Connect the controller to Wi-Fi
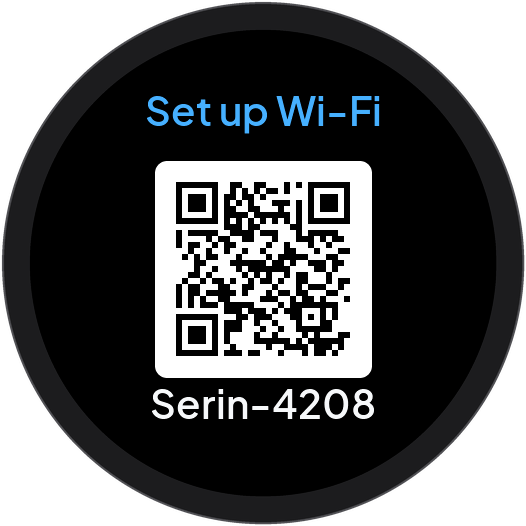
- Scan the setup QR code with your phone camera.
- Accept the phone’s request to join the displayed temporary Wi-Fi network.
- On the setup page, select your home network.
- Enter its password.
- Submit the network details with the page’s connection button.
- Wait for Wi-Fi connected on Link.
- Connect your phone to the home network again.
For unusual network names or keys, see the Wi-Fi reference.
If scanning does not connect the phone, select the displayed Serin-XXXX
network in the phone’s Wi-Fi settings. Enter serinlabs as its password.
While connected to that hotspot, open http://192.168.4.1 if the setup page
does not open automatically. These hotspot details apply to the controller
firmware described in the Serin setup guide.
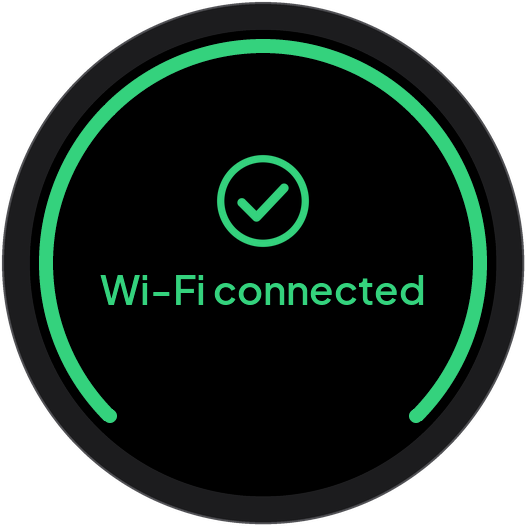
If a pairing code appears, continue with HomeKit and Matter pairing. If no home pairing is needed, push the knob to finish.
A new Matter controller can instead receive Wi-Fi details from the home app during Matter pairing. A Wi-Fi offer on Link is not a prerequisite for that process. Use the controller’s setup instructions if Link offers no hotspot.
Cancel Wi-Fi setup
For a network change on a controller that supports cancellation, hold the knob while the hotspot starts, or push or hold on the setup QR screen. Link shows Cancelling setup until the controller confirms that the hotspot is closed, then returns to Settings. Link automatically retries while it waits for the reply. Setup requests stop as soon as cancellation begins.
If network details have already been submitted, cancellation waits for the controller’s connection trial to finish. A successful new network remains saved; a failed trial restores the previous saved network when available. Cancellation does not erase network details. If home Wi-Fi is unavailable, Setup hotspot open explains that the hotspot remains available so you can reconnect. Push the knob to return to Settings.
If no confirmation arrives for approximately 15 seconds, Link shows No confirmation. The hotspot may still be open. Push to retry cancellation, or hold to go back without confirmation.
Older controllers show go back instead of cancel. Leaving a network-change screen explains that the hotspot normally closes after about ten minutes when home Wi-Fi is connected; push again to return to Settings. Older firmware may keep the hotspot open longer if home Wi-Fi disconnects during setup.
On an initial setup QR screen, push or hold to leave the screen. Hold while the hotspot starts to leave. This keeps the hotspot available for initial setup. Link returns to Settings if you started there, or home if you started from the offer. Leaving does not suppress the automatic offer. The long hold on the home-screen offer is the separate action that suppresses that offer.
For setup failures or screen timeouts, see Retry, cancel, or return later.
Open the controller web interface
The controller must be online, connected to Wi-Fi, and reporting an IP address.
- Connect your phone to the same home network as the controller.
- On Link, open Settings.
- Highlight Wi-Fi.
- Push the knob when show web UI appears.
- Scan the QR code with your phone camera.
- Open the web address offered by the phone.
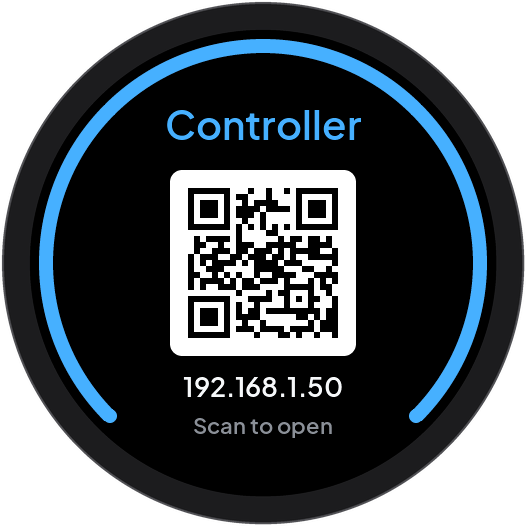
Alternatively, enter http:// followed by the displayed IP address in your
browser. For example, use http://192.168.1.50/ only if Link shows that address.
Push or hold the knob to leave.
HomeKit and Matter pairing
These procedures add the controller to a home app. They are separate from pairing Serin Link with Serin Controller. Select the intended zone before you start. Use the code on your own device, not a code in a manual figure.
Add HomeKit-compatible firmware to Apple Home
Use an iPhone or iPad with the Home app. Connect the controller and phone to the same home network. The controller must be online and unpaired with a home.
- On Link, open Settings.
- Highlight HomeKit.
- Push the knob to display the setup QR code.
- On your phone, open Home → + → Add Accessory.
- Scan the QR code on Link and follow the app’s setup prompts.
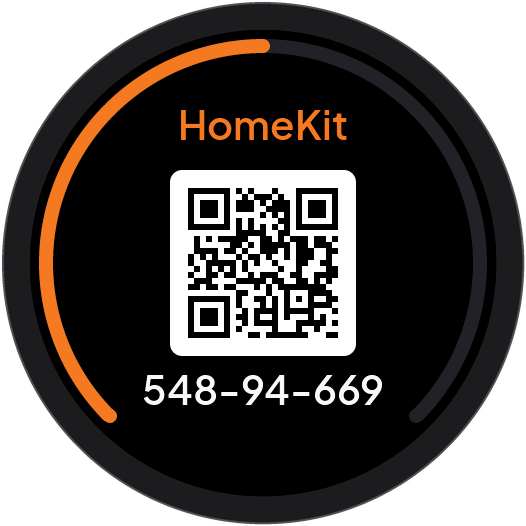
If scanning fails, use the app’s manual setup option. Enter the eight-digit HomeKit code shown on Link. The HomeKit-compatible firmware is not Apple certified. The app can show an uncertified-accessory message during setup. Refer to Apple’s accessory setup instructions and manual code entry.
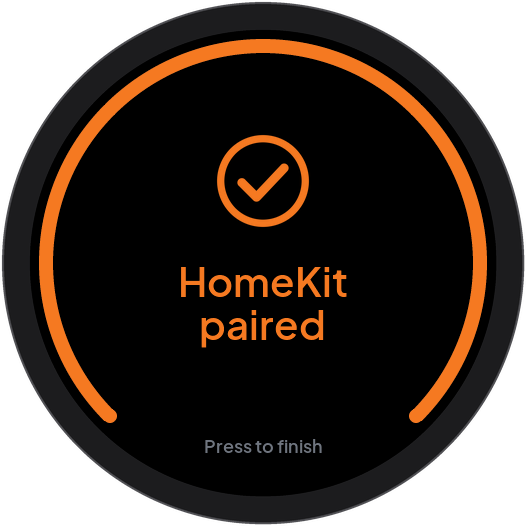
When the controller reports success, Link shows HomeKit paired. Push the knob to finish.
Add Matter-compatible firmware to a home app
Use a Matter-capable home app and its required hub. Enable Bluetooth on the phone for initial setup. The Serin Matter-compatible firmware uses Wi-Fi, not Thread. The controller must accept pairing, and Link must have an online connection to it. Normal entry from Settings requires an unpaired controller.
- On Link, open Settings.
- Highlight Matter.
- Push the knob to display the Matter setup QR code.
- Open your home app on the phone.
- Use its procedure below to add the controller.
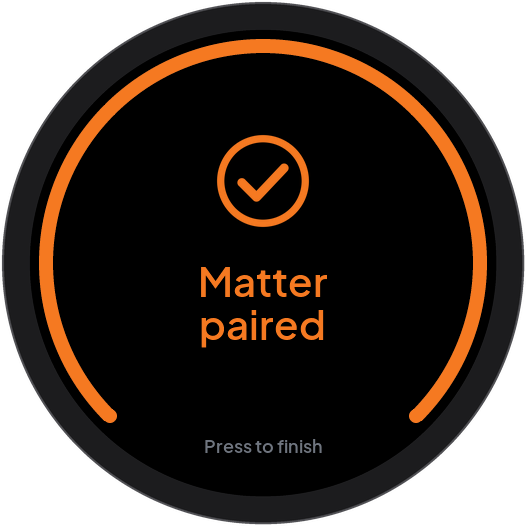
- Wait for Matter paired on Link.
- Push the knob to finish.
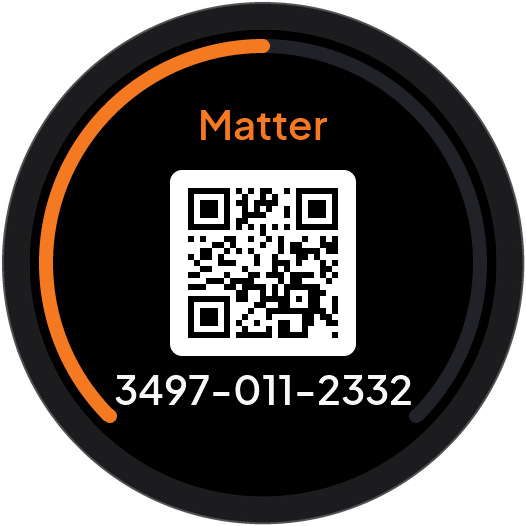
For Apple Home, use + → Add Accessory. Scan Link’s Matter QR code. Alternatively, enter its Matter setup code with the app’s manual option. Complete the room and name prompts. See Apple’s Matter instructions.
For Google Home, this test firmware requires developer setup before pairing. Follow the Google Home setup reference.
For another Matter app, follow that app’s instructions for adding an accessory. Check its requirements for uncertified firmware before pairing. Do not assume that every app accepts the controller without additional configuration.
Continue after Wi-Fi setup or return later
When Wi-Fi setup continues to a pairing code, start with the phone steps in the applicable procedure above. You do not need to reopen Settings first.
To leave the pairing code, push or hold the knob. You can return through Settings → HomeKit or Settings → Matter while the controller remains unpaired. After success, push the knob to finish. A screen timeout returns home without removing a pairing.
For unavailable codes or pairing options, see Pairing status and missing codes.
Add another home app or remove a home pairing
These procedures use the controller web interface. They apply when its HomeKit or Matter card offers the named controls.
To add another Matter ecosystem:
- Open the controller web interface.
- Open its Matter card.
- Select Open Pairing Window.
- In the new home app, start its accessory-addition procedure.
- Scan the controller web interface’s QR code before the pairing window closes.
- Complete the new app’s setup prompts.
The already-paired Link Settings screen does not open this QR code.
CAUTION: Removing a home pairing removes that home’s access to the controller. It does not remove the Link zone pairing.
To remove one Matter ecosystem:
- Open the controller web interface’s Matter card.
- Find the home that you want to remove in the paired-home list.
- Select Remove beside that home.
- Check the home name in the confirmation dialog.
- Confirm removal, or cancel to keep it.
Other paired homes remain. If you intend to remove every Matter home, select Reset Matter Pairing instead. Read its warning before you confirm. This action removes all Matter pairings and restarts the controller.
To remove HomeKit pairings:
- Open the controller web interface’s HomeKit card.
- Select Reset HomeKit Pairing.
- Read the warning that all HomeKit pairings will be removed.
- Confirm removal, or cancel to keep them.
After removal, use the applicable home-pairing procedure again. If a home app retains an old accessory entry, follow that app’s removal instructions.