serin labs
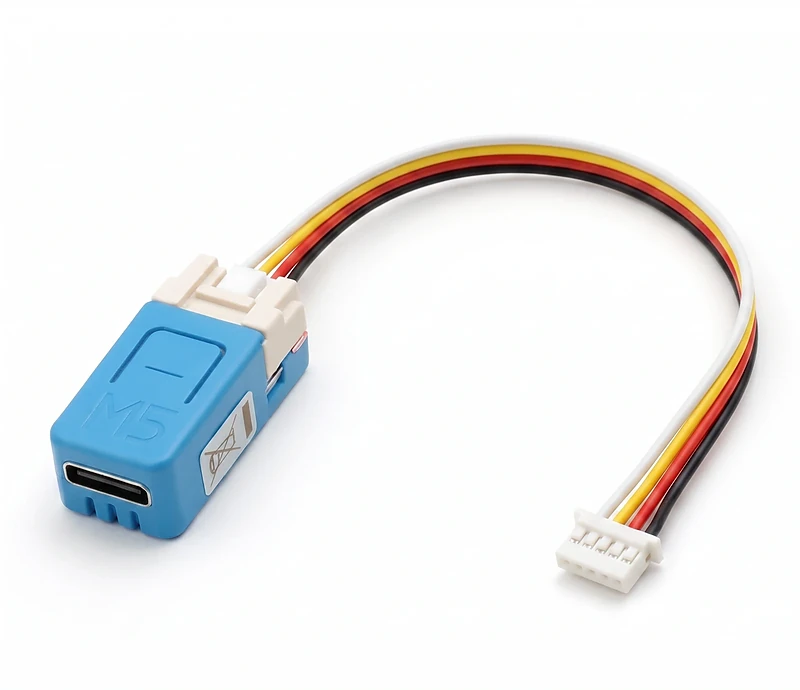
Serin Controller
Connect a compatible Mitsubishi mini-split to your smart home. Includes a CN105-to-Grove cable.
From $35.00
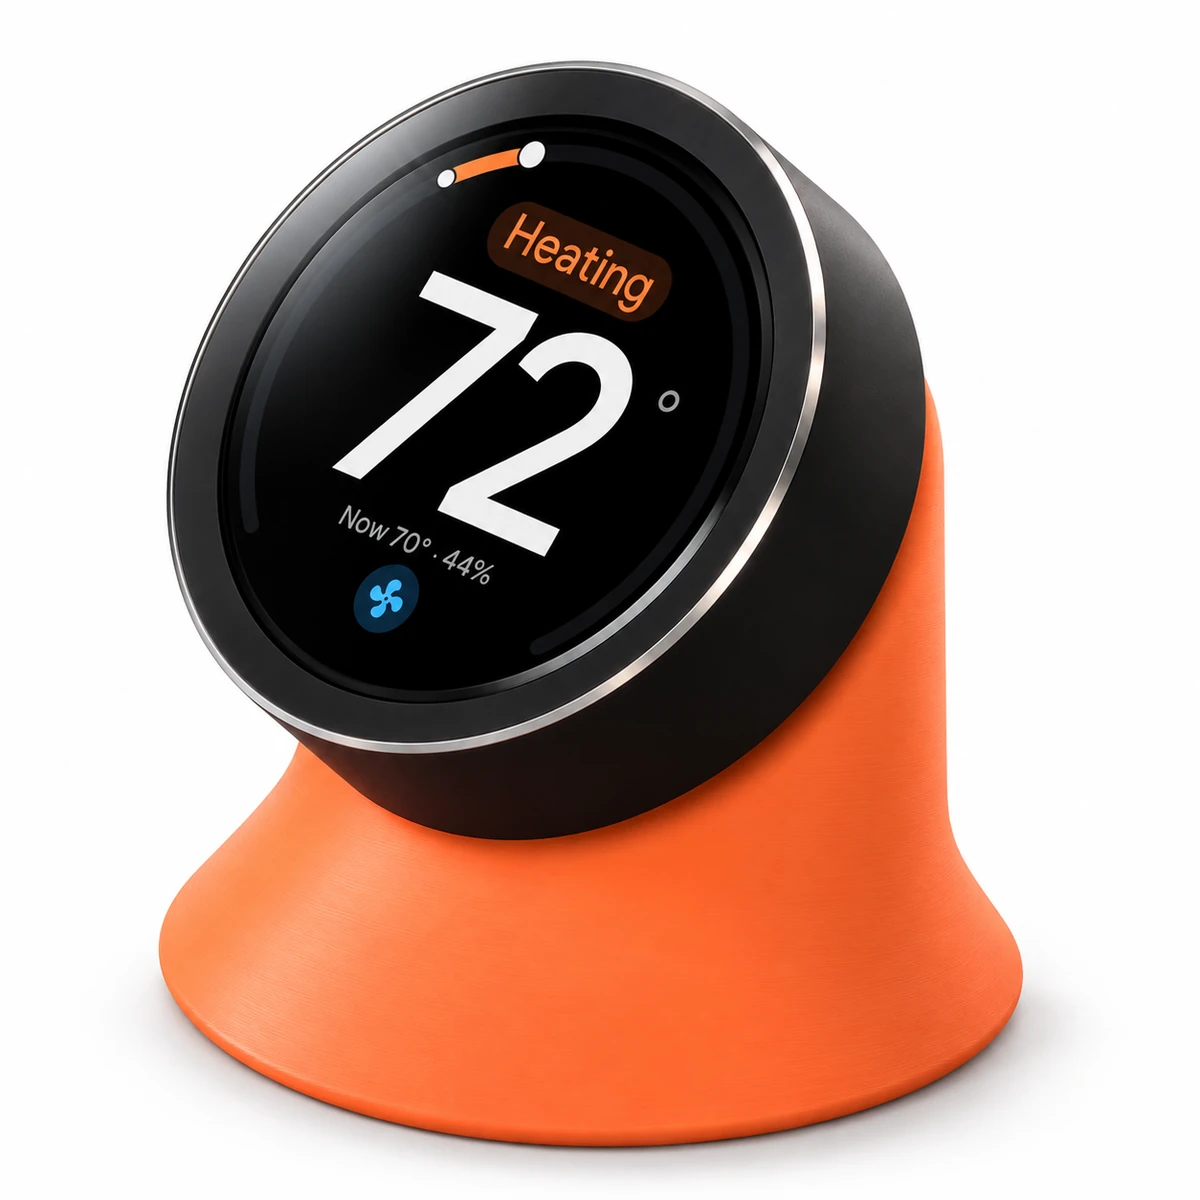
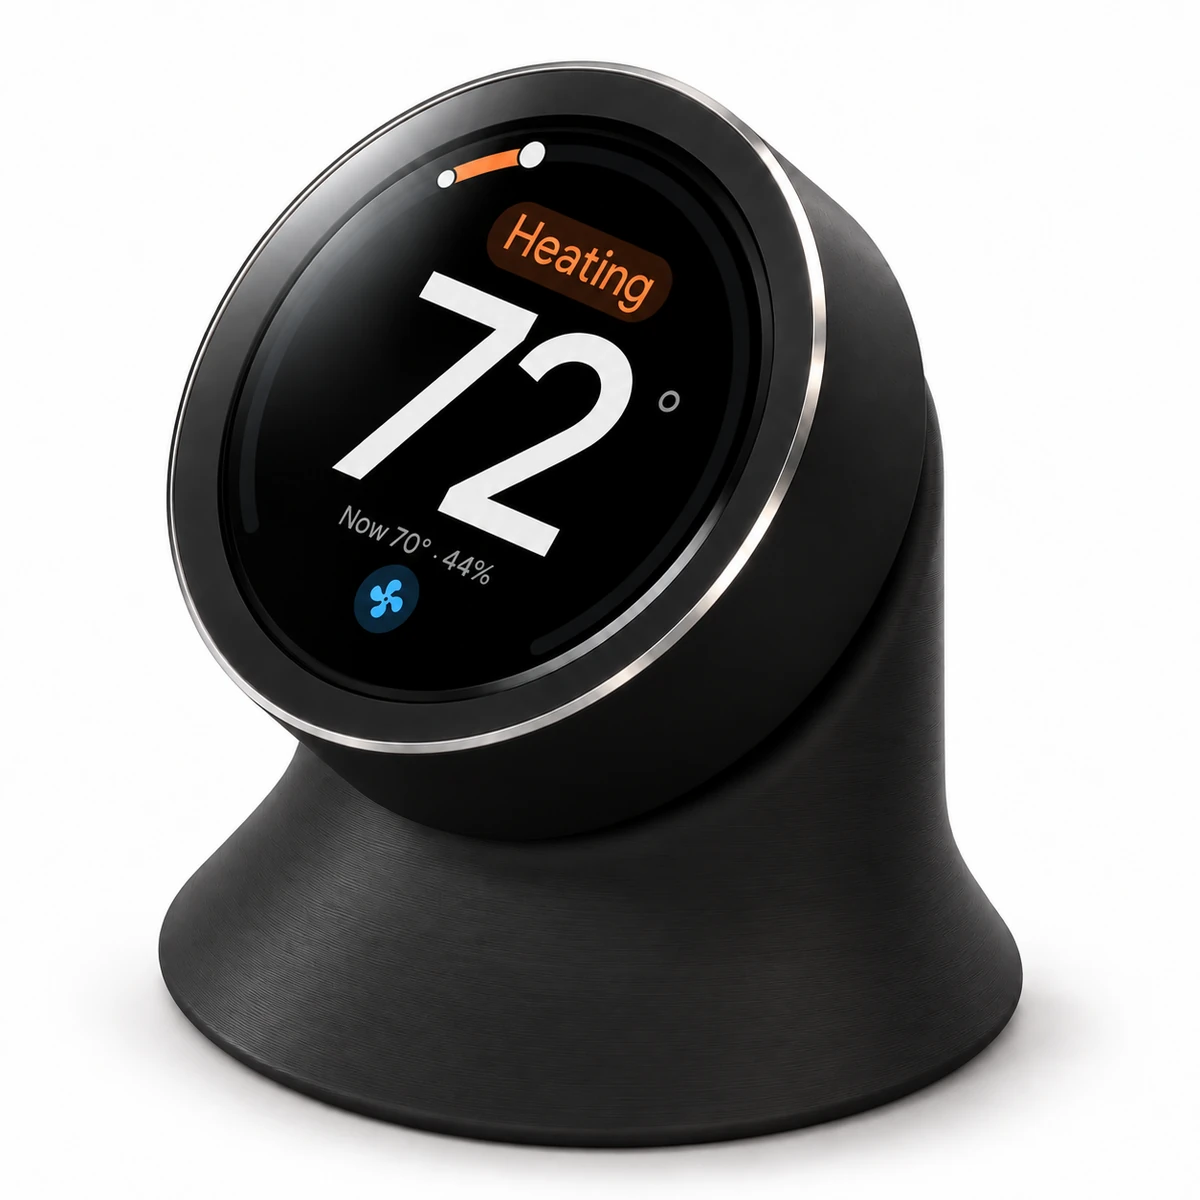
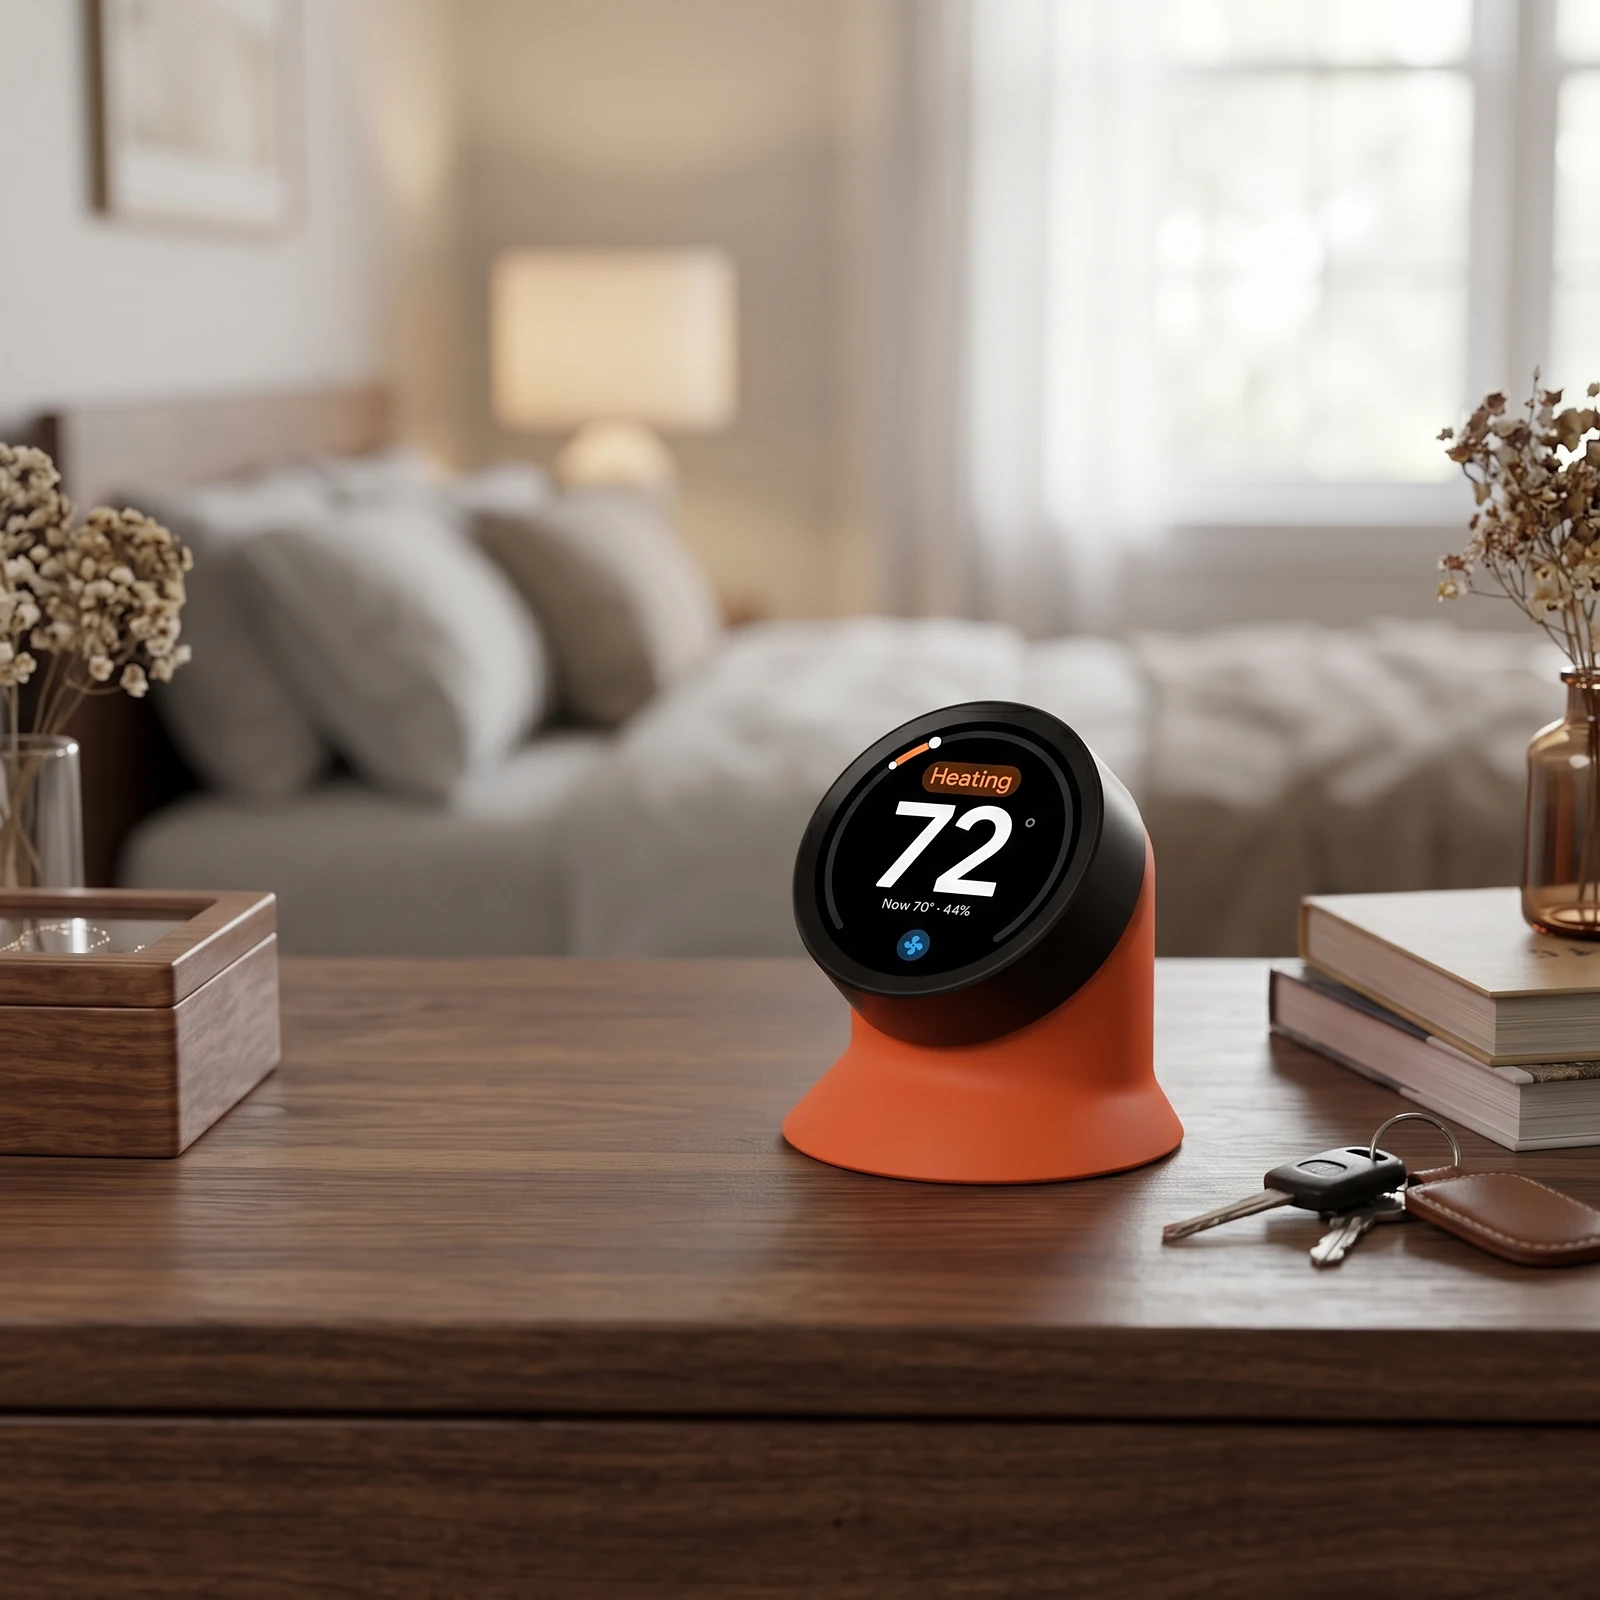
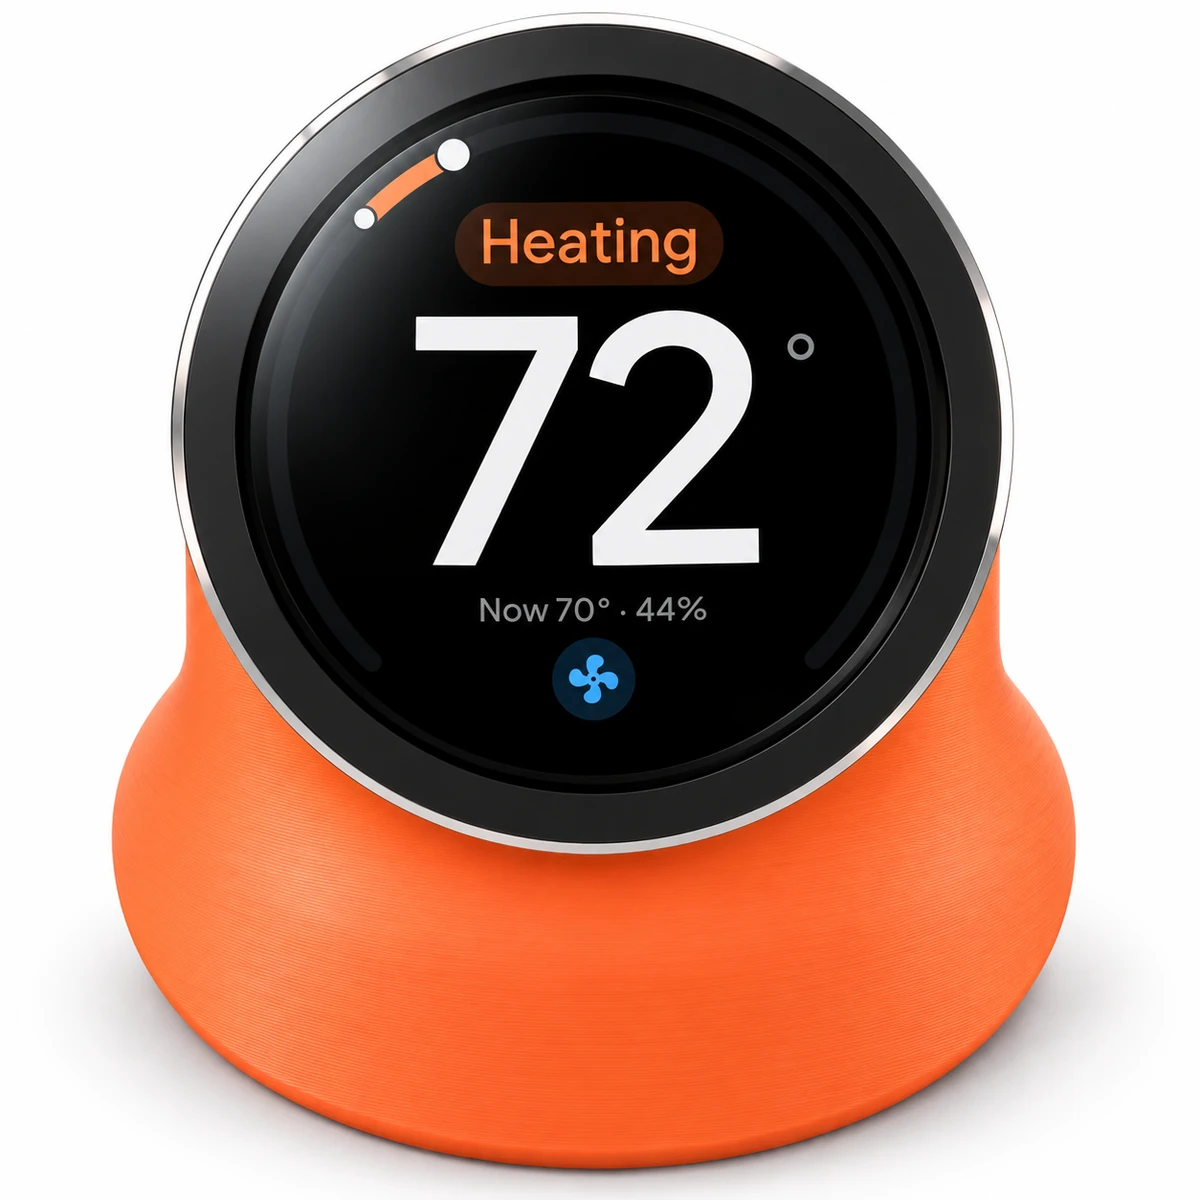
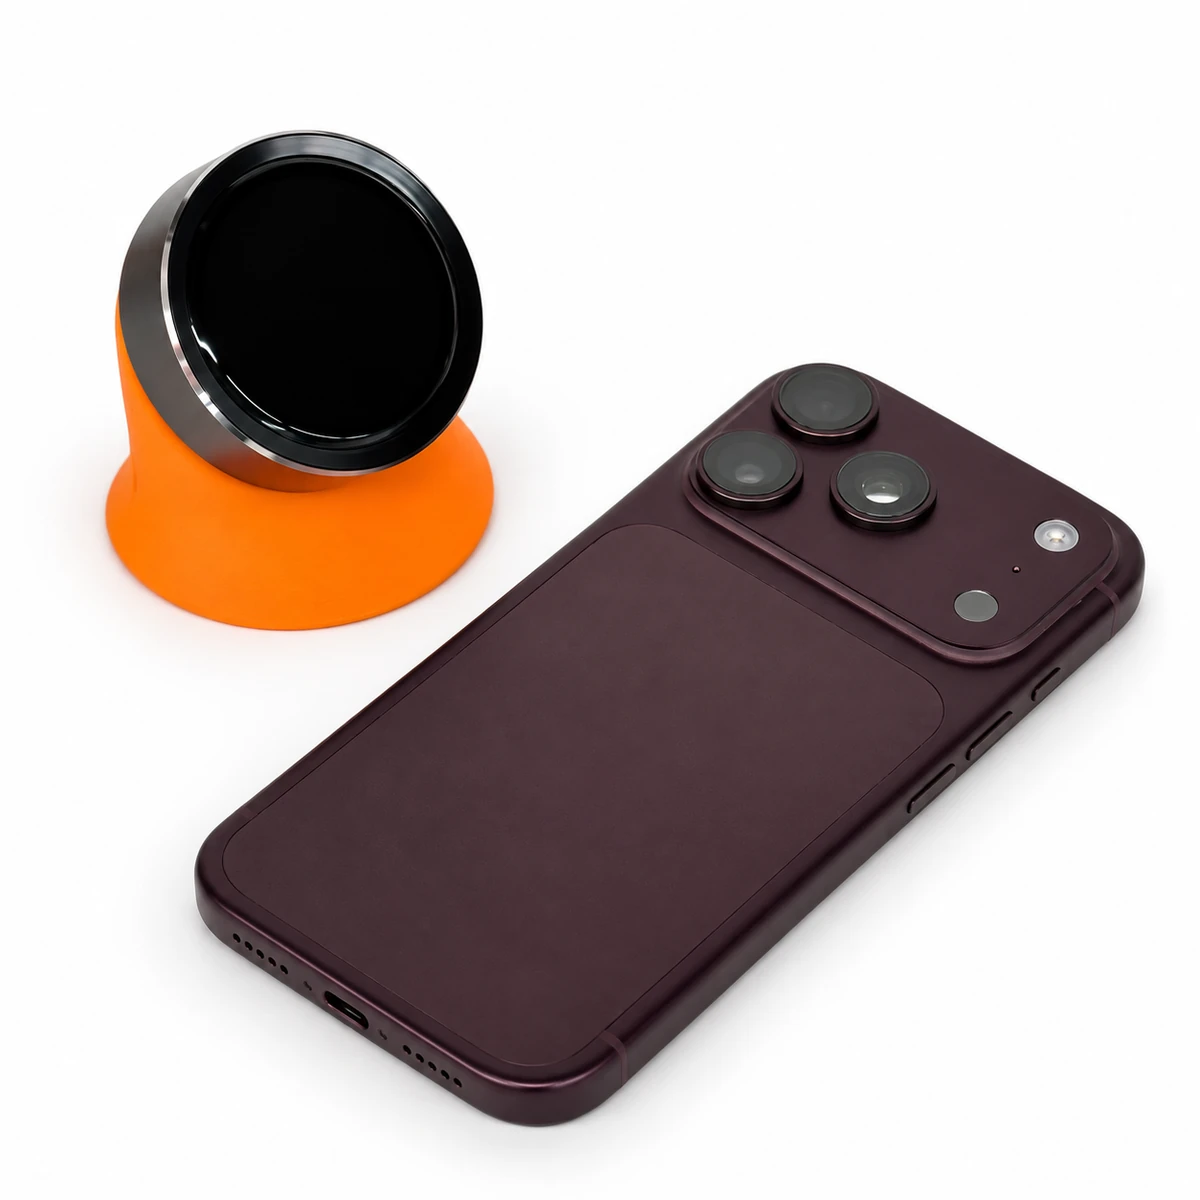
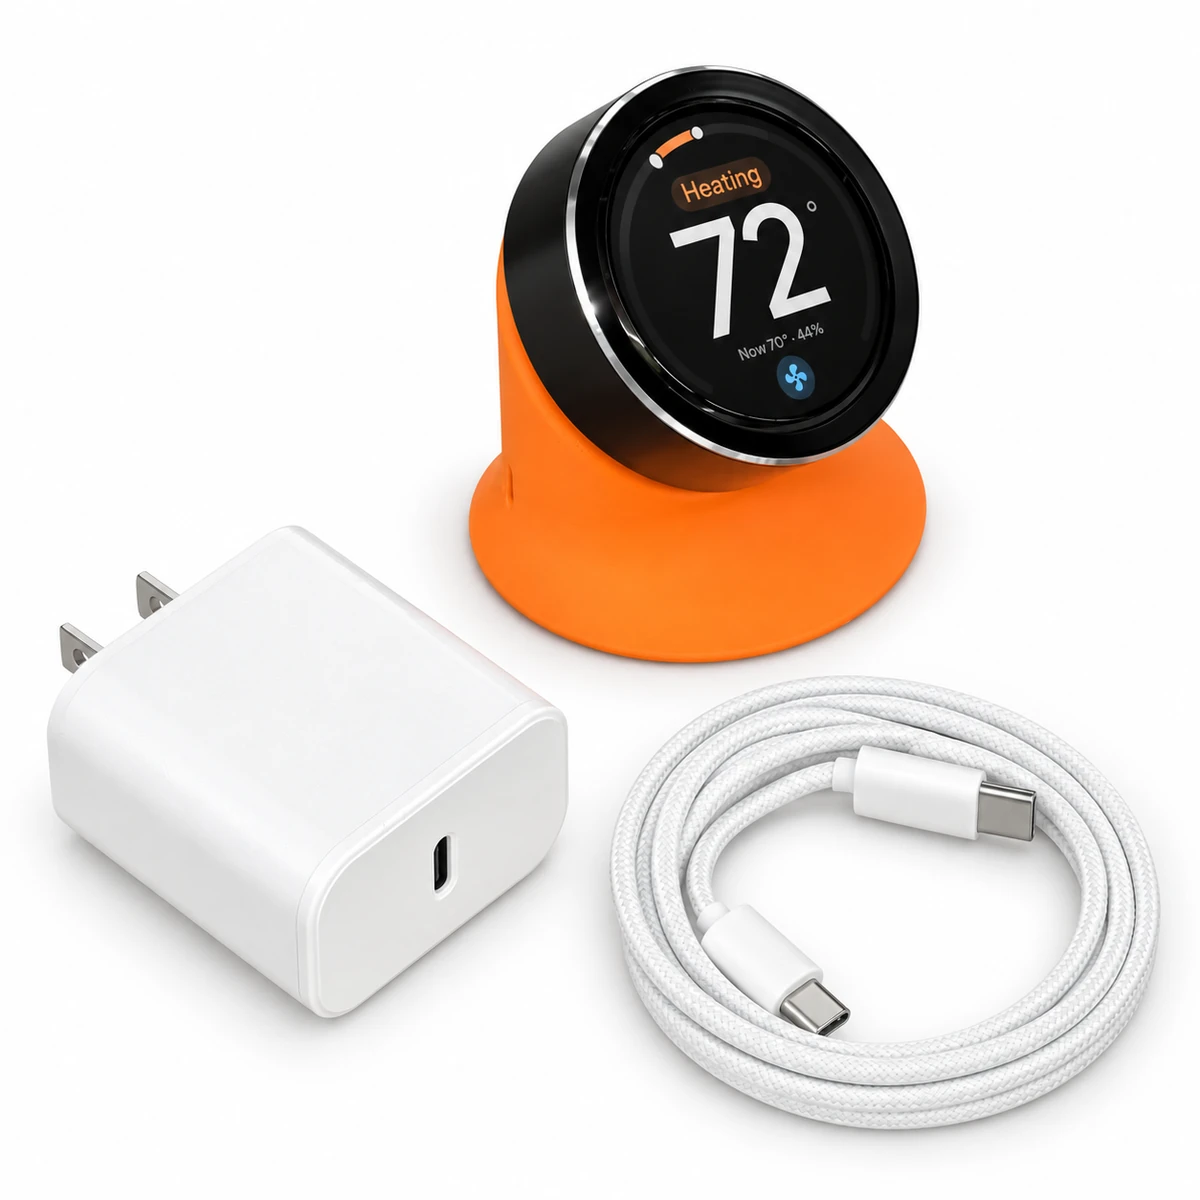
Link pairs wirelessly with a Serin Controller, which plugs into your mini-split. Their direct radio connection carries controls and temperature readings without home Wi-Fi. Select Link's built-in temperature sensor so heating and cooling use the temperature where you sit.
Add-on
Save $15 on each Link paired with a Controller.
Free US shipping on orders $35 and up, from New Jersey. Ships to US addresses only.
For orders below $35, shipping is calculated at checkout. Shipping policy.
30-day returns by mail. How returns work.
1-year limited hardware warranty against manufacturing defects. Warranty terms.
Ships within 1–3 days
Secure checkout by Shopify, shipped from New Jersey.
Add-ons
Free US shipping on orders $35 and up, from New Jersey. Ships to US addresses only.
For orders below $35, shipping is calculated at checkout. Shipping policy.
30-day returns by mail. How returns work.
1-year limited hardware warranty against manufacturing defects. Warranty terms.
Ships in 1–2 days
Secure checkout by Shopify, shipped from New Jersey.
A Serin Controller at each indoor unit you want to control, or an ESPHome climate device with the serin_link component.
No soldering required
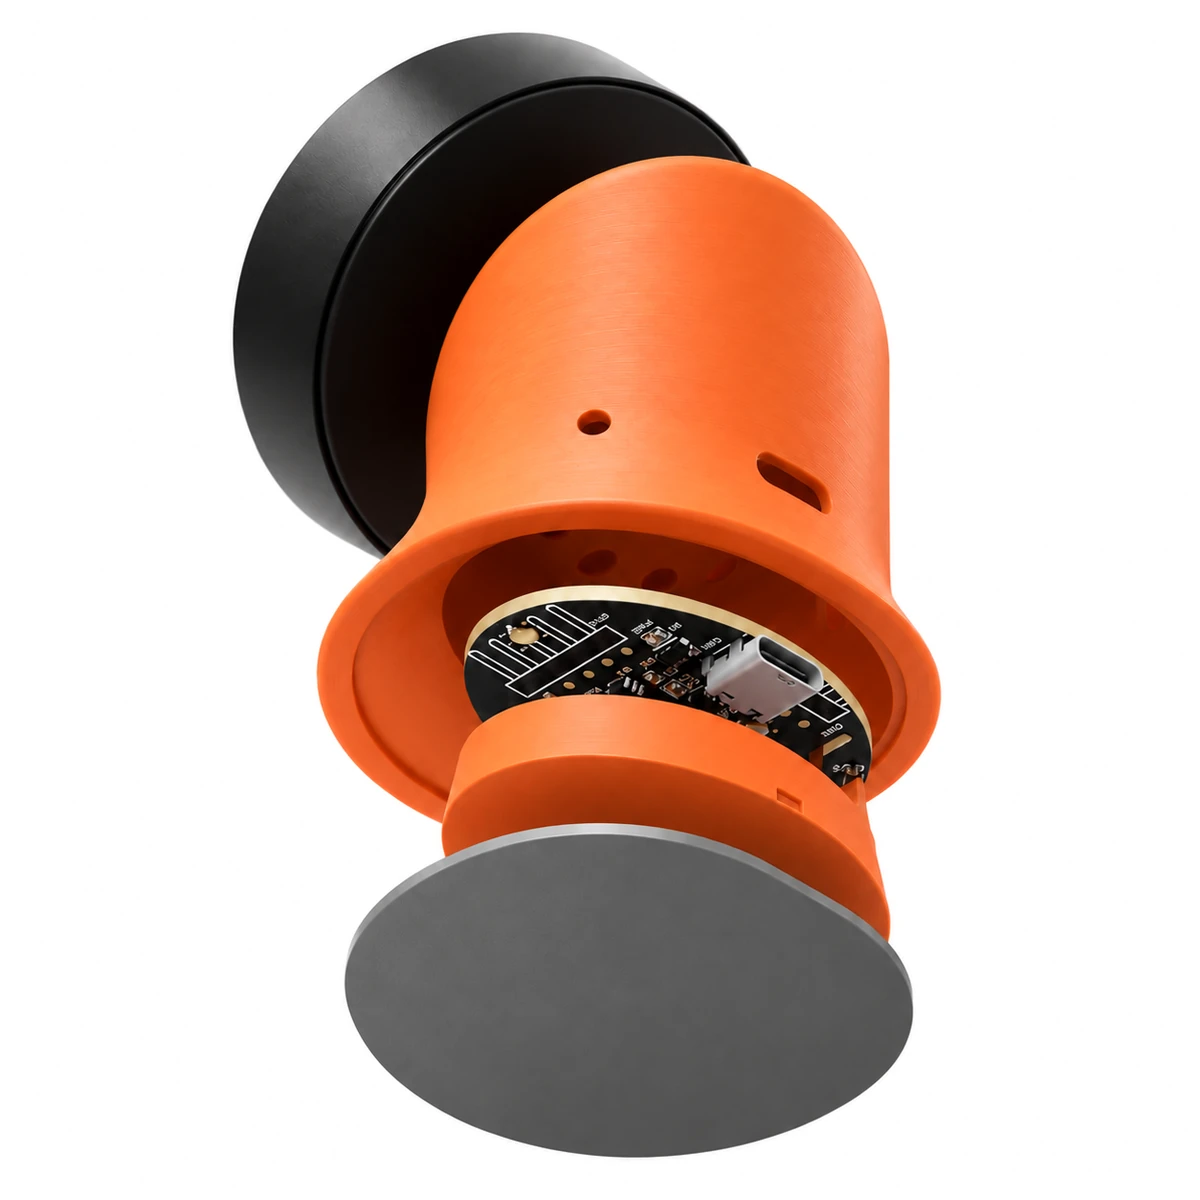
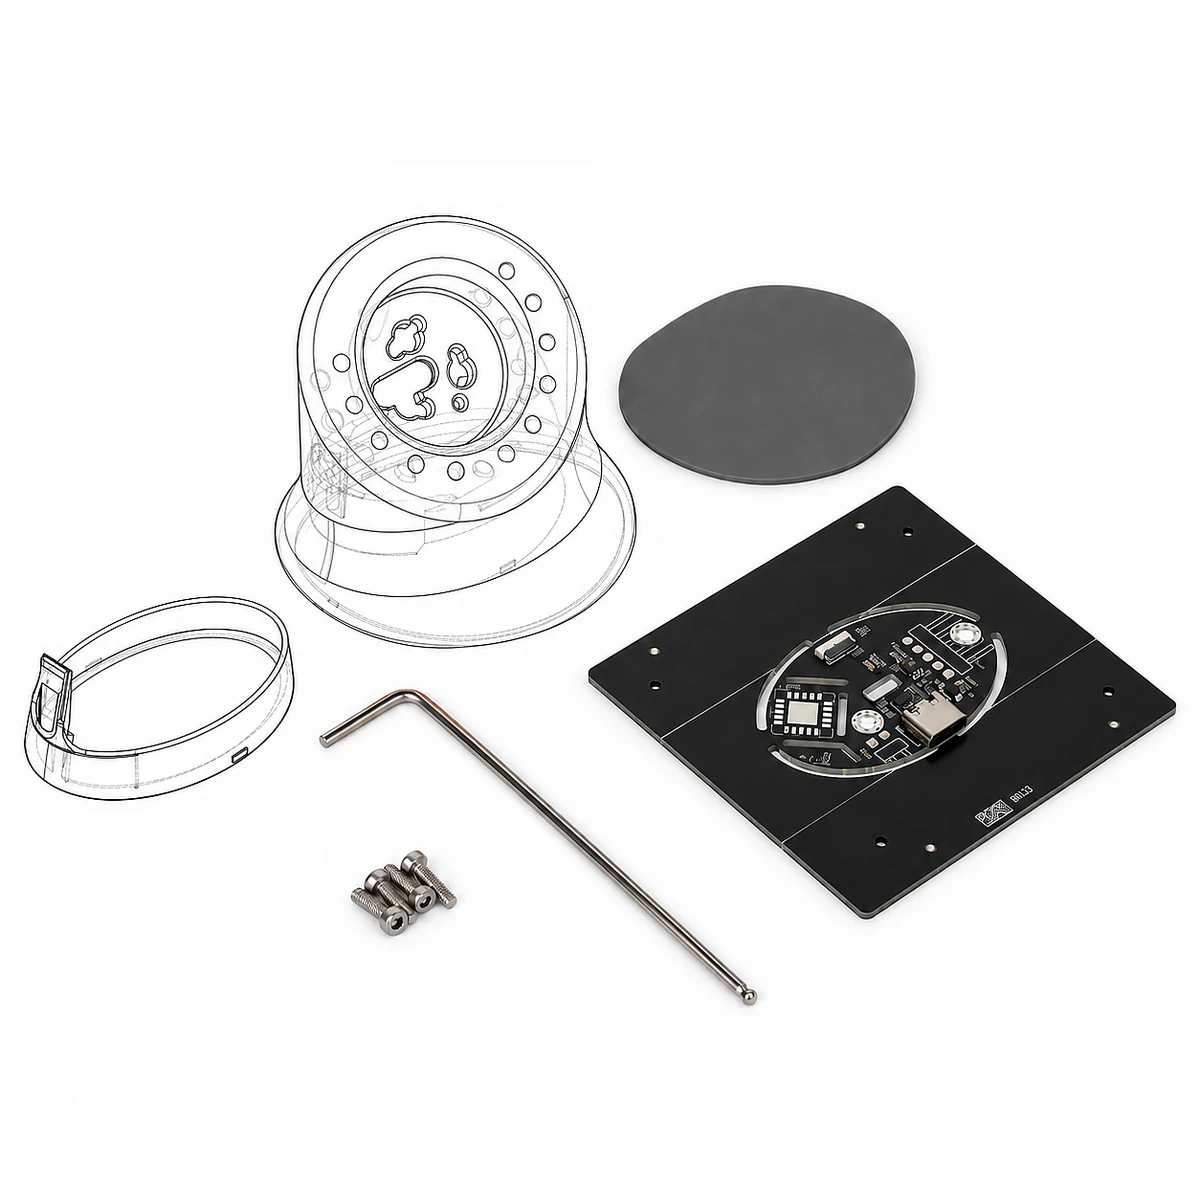
The PCB arrives assembled and tested. Fit the parts together, connect the display, and install the firmware.
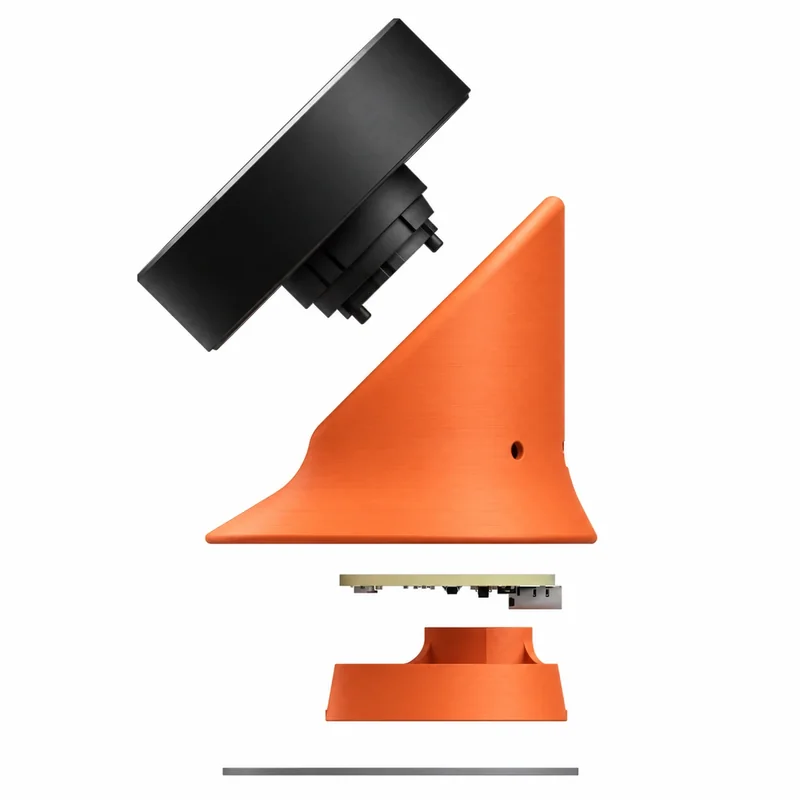
Buy the supported VIEWE 1.5-inch module separately.
Install the display and PCB, then fit the cap and pad.
Flash over USB with a supported desktop browser.
Room for the things around it.
About 2 inches wide and 2½ inches tall, Link fits neatly beside a laptop or bedside lamp.
A quieter screen at night.
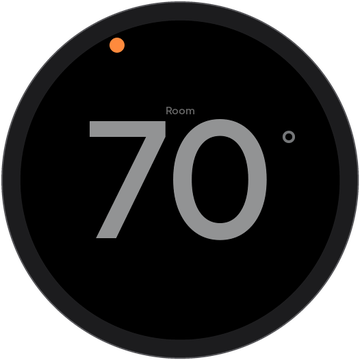
Keep a dim temperature reading visible, or set the screen to turn off when idle. The first touch or turn wakes it without changing your settings.
The interface
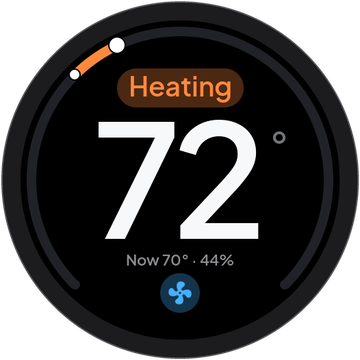
Adjust the temperature from your desk or bedside without reaching for your phone. Press the knob for mode and fan controls, or use the touchscreen. Link only shows the modes and fan speeds your unit supports.


Built-in room sensor
Place Link at your desk or bedside and select it as your Serin Controller's room sensor. Your heat pump then uses the temperature measured there to guide heating and cooling.
Temperature and humidity
Check both readings on Link's display.
Direct to your controller
Sensor readings travel over an encrypted radio connection, without relying on your home Wi-Fi.
With a compatible ESPHome controller, view Link's temperature and humidity in Home Assistant and use the readings in your automations.
serin_link component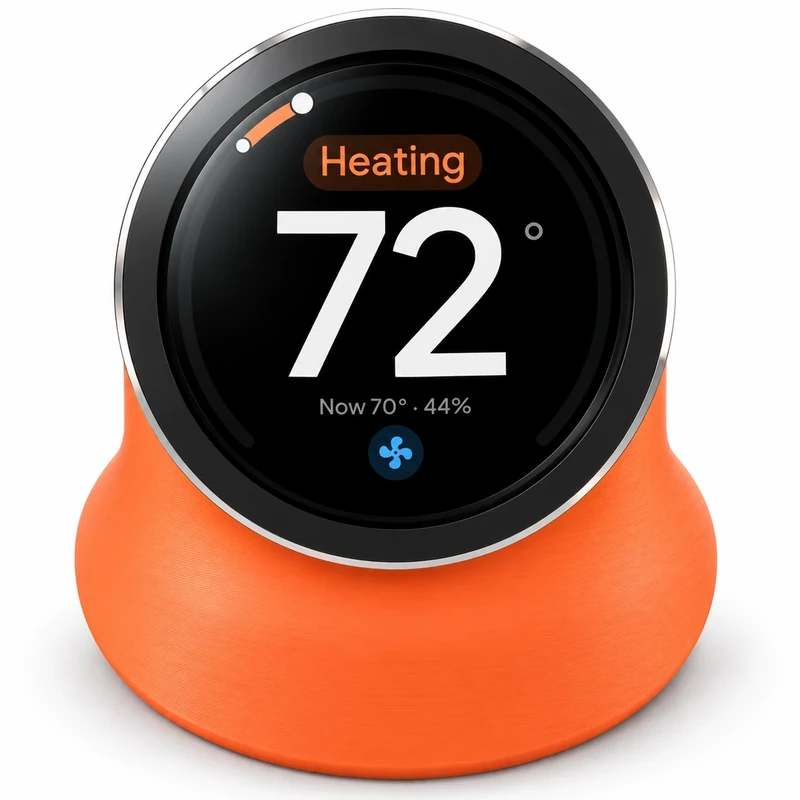
Dimensions
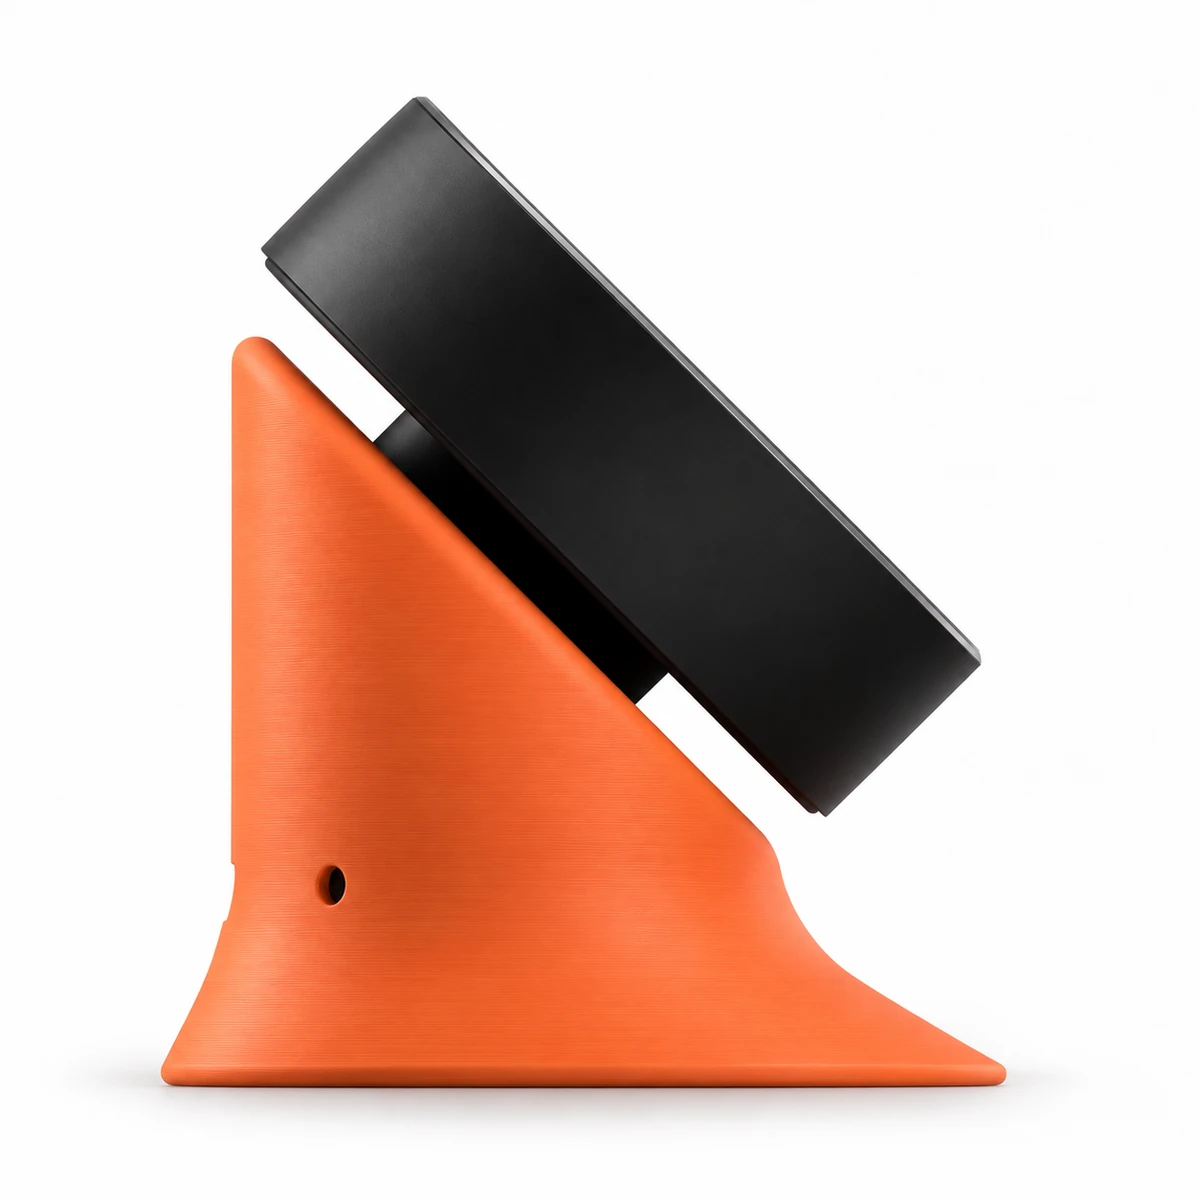
About 2 inches wide, 2½ inches tall, and 2 inches deep.
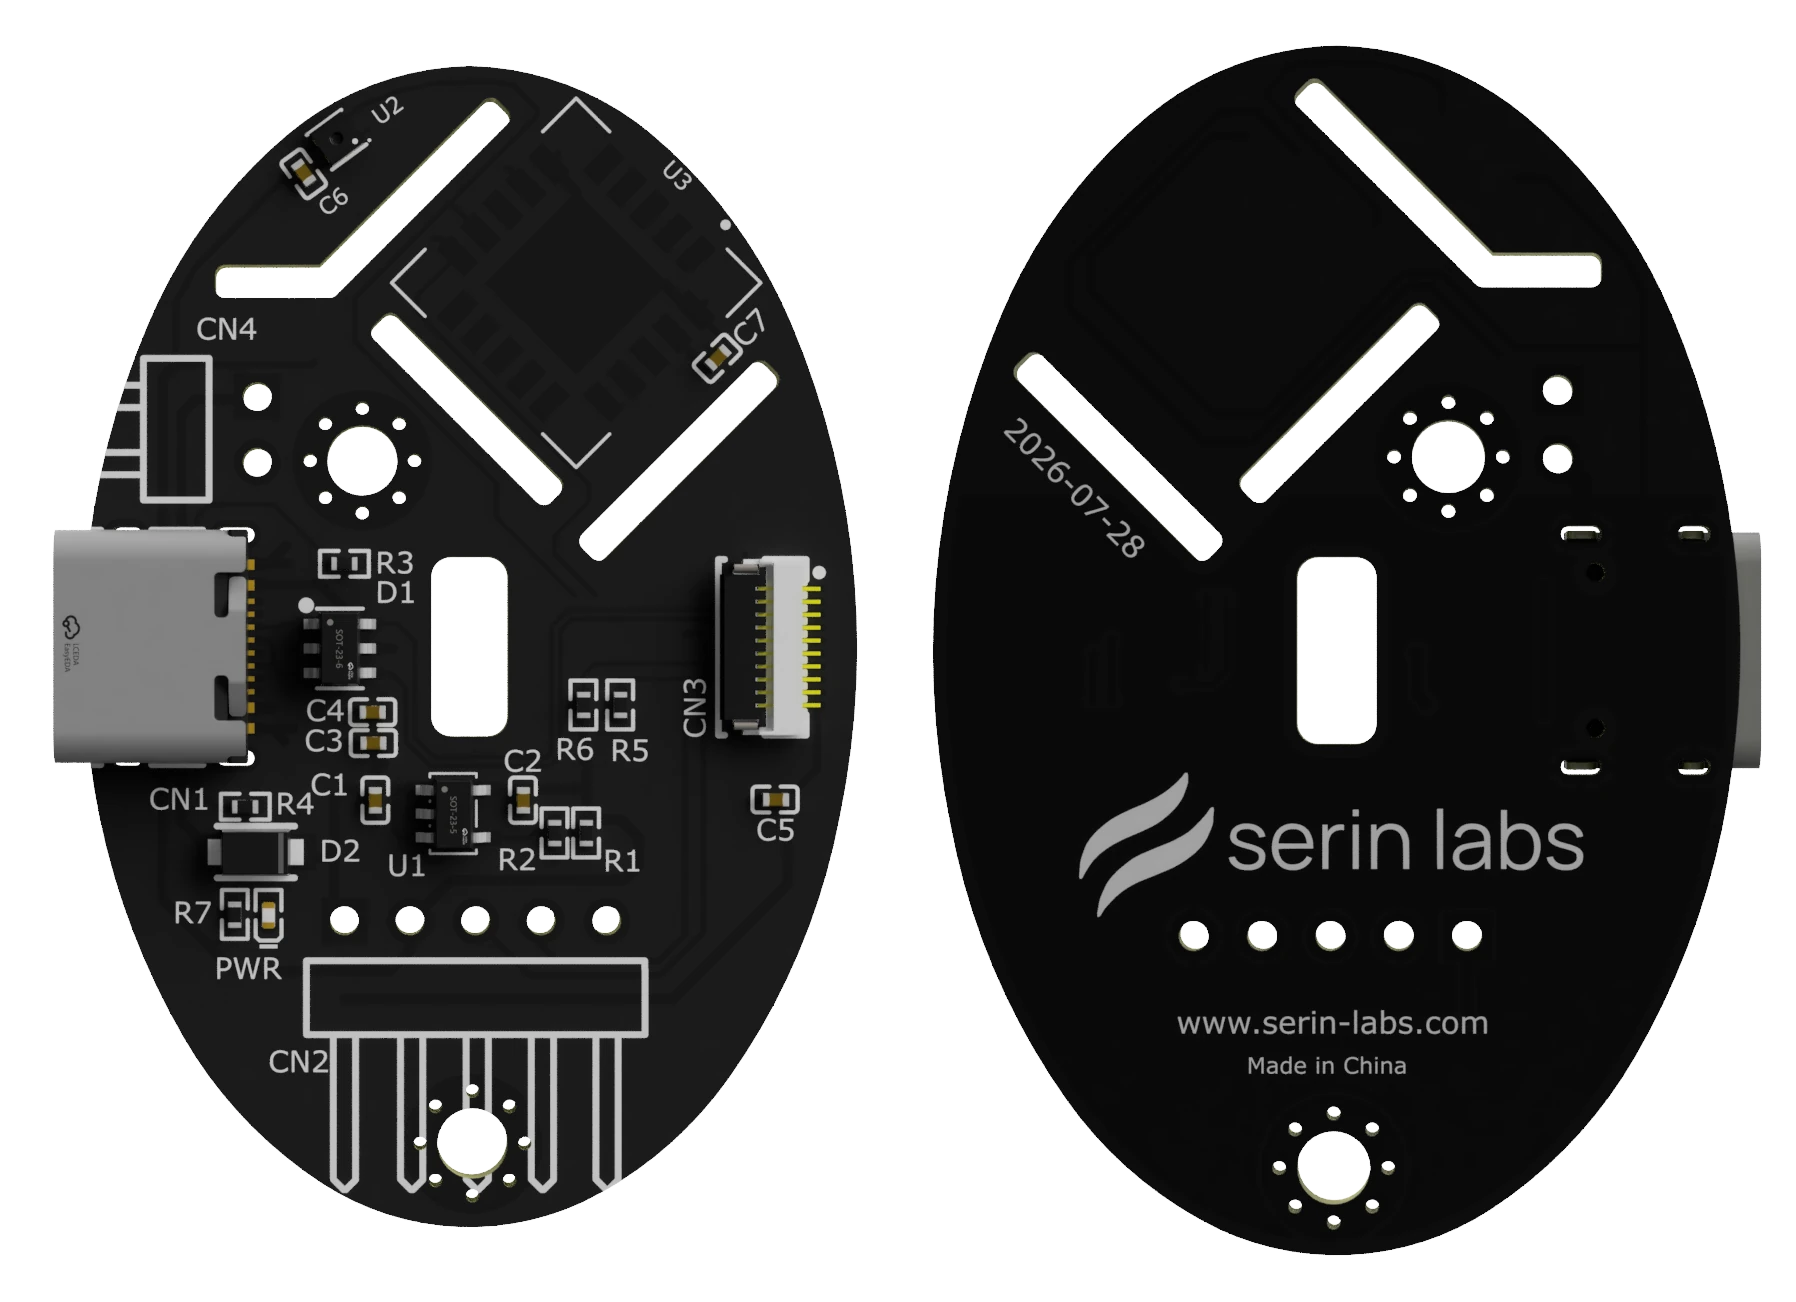
The sensor board
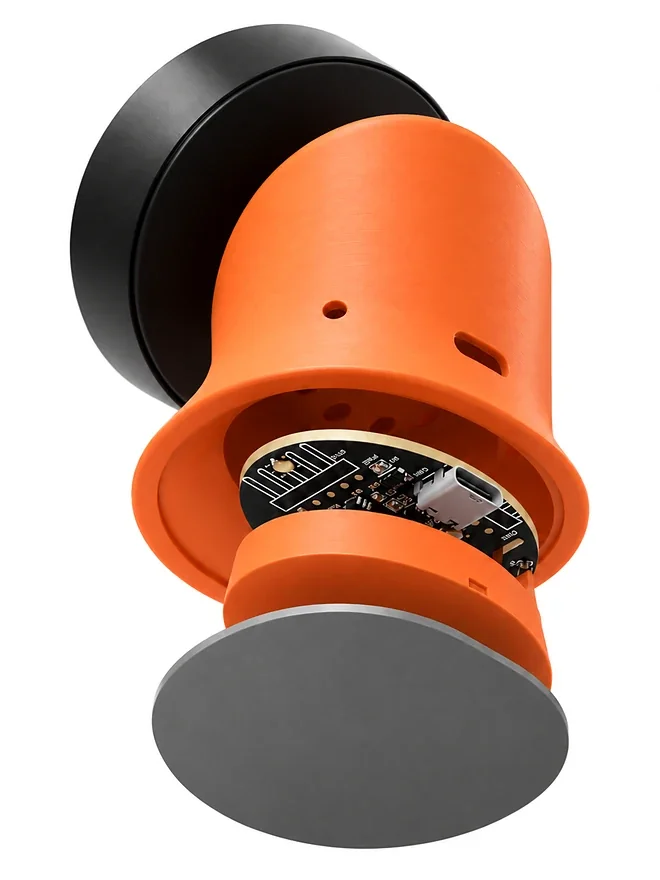
Slots in the board reduce heat transfer to the room sensor.
Serin Link, orange, black
1.5″ touchscreen, rotary knob, and stand with the sensor board inside. Firmware installed.
USB-C cable
Powers the Link; there is no battery.
USB power adapter
Serin Controller optionalnot selectedadded
Standard 8-inch cable. Needed at each indoor unit the Link will control.
The body is 3D printed.
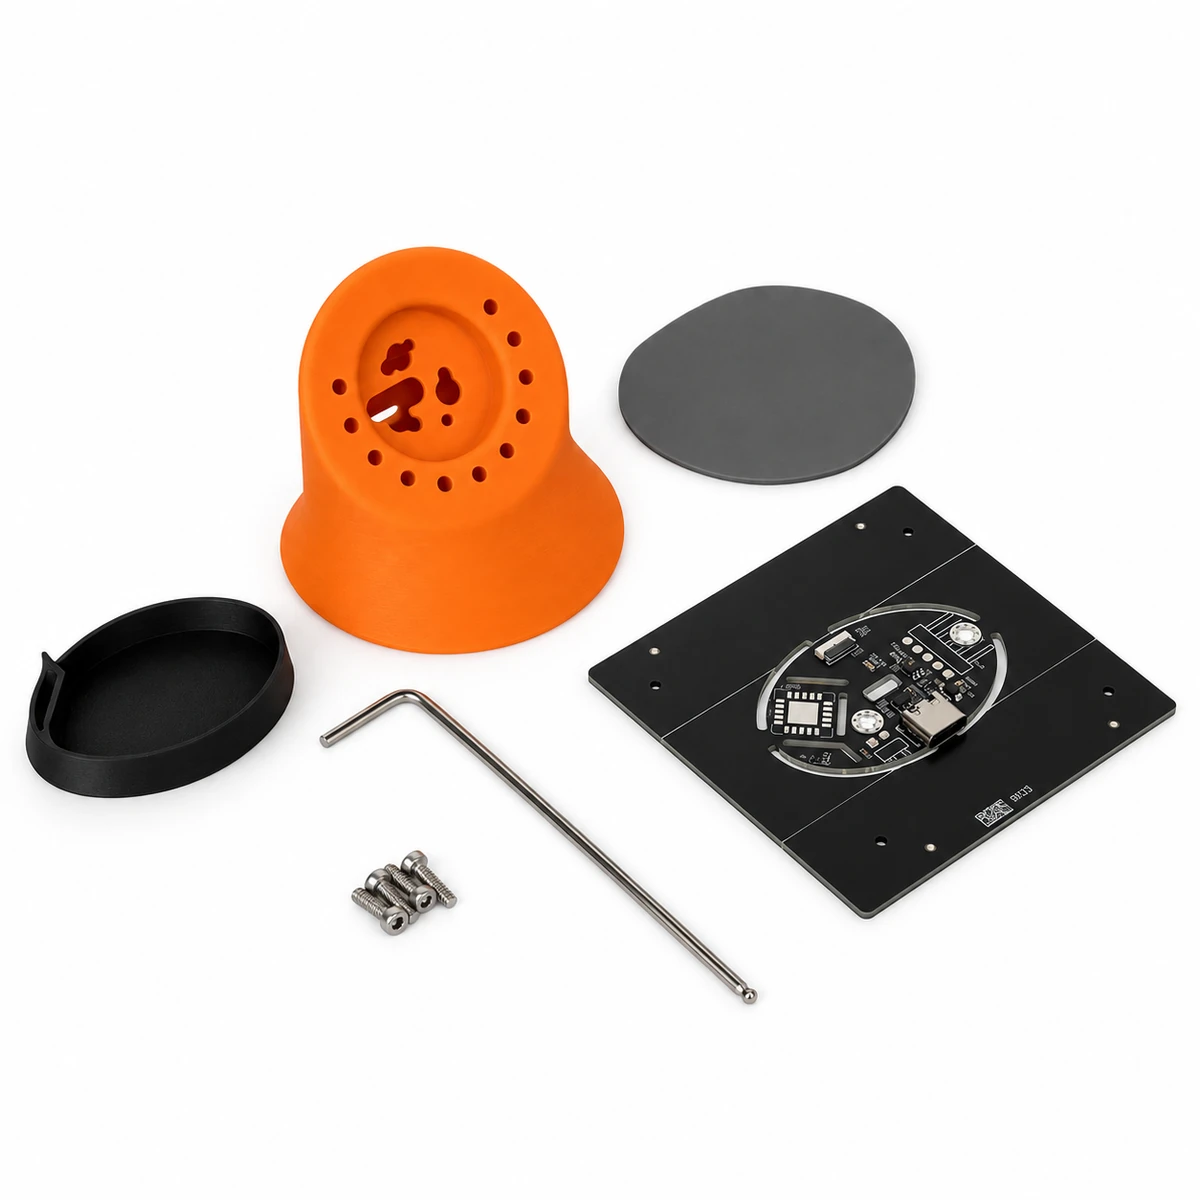
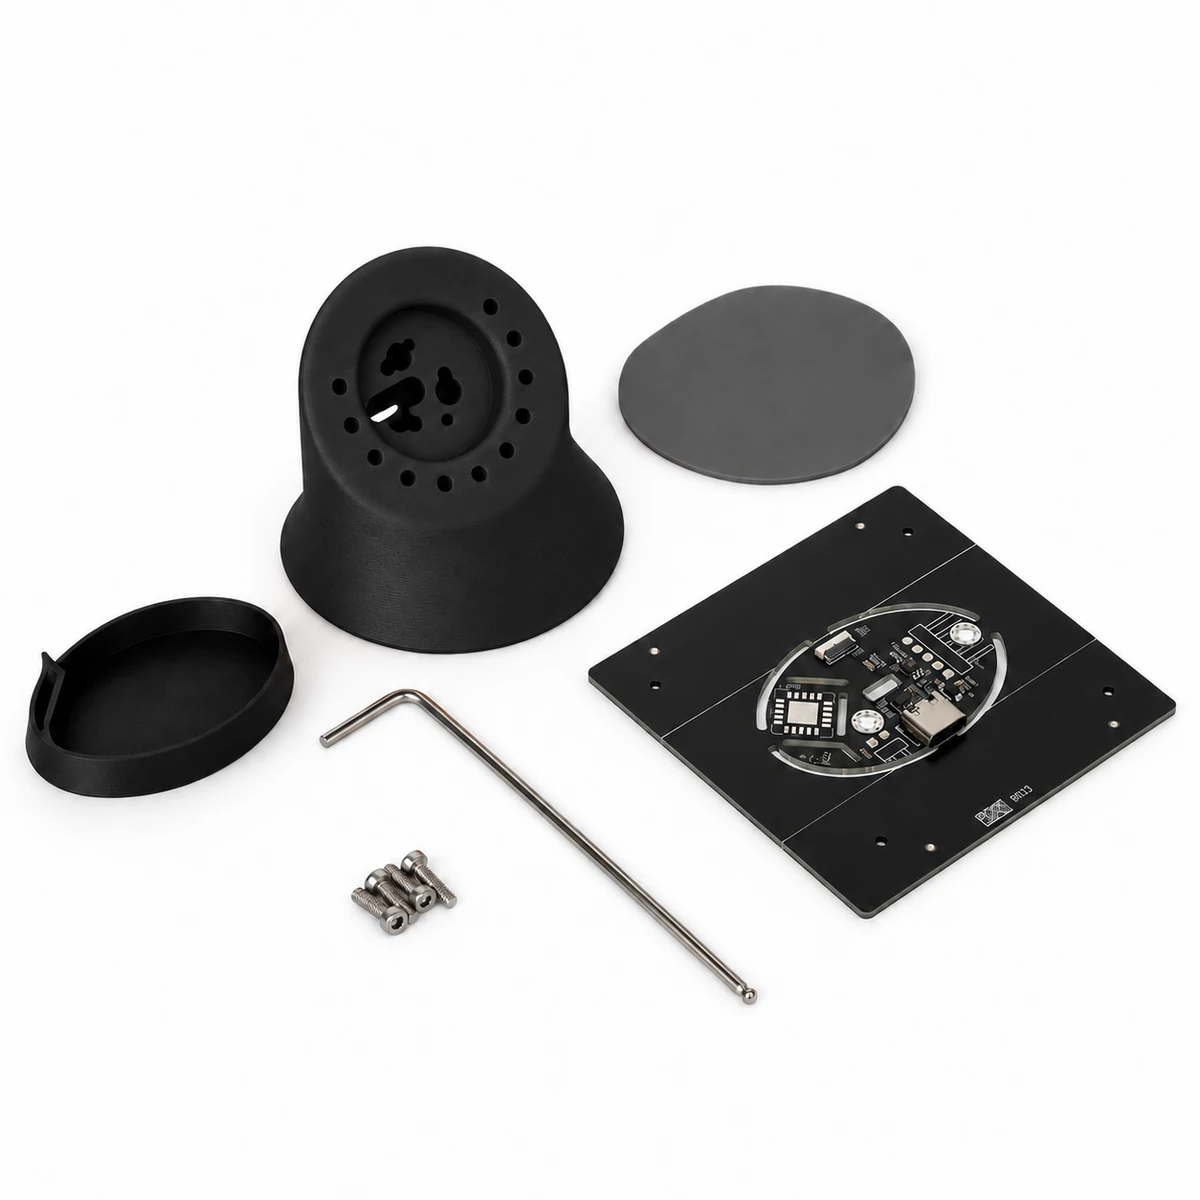
Serin Link PCB
Assembled and tested. Includes the SHT41 temperature and humidity sensor.
Printed stand + bottom cap
OrangeBlack stand with a black snap-fit bottom cap.
Stand + bottom cap STL
One file containing both parts. Print your own or use a print service under the file-use terms.
Stand + bottom cap, or STL file
Choose printed parts or the file when ordering.
M2.5 × 8 mm screws
Three for the display, one for the PCB.
Ball-end Allen key
The tool for assembly.
Silicone bottom pad
Precut, self-adhesive, and reusable.
USB cable + power adapter
Optional accessories selected.
Serin Controller
Standard 8-inch cable, no sensor. Ships unflashed; firmware setup required.
The supported VIEWE display, a compatible controller,, a compatible controller, and a computer for firmware installation. Supply your own USB data cable and power adapter, or add the set above. View parts and requirements →
Connect a compatible Mitsubishi mini-split to your smart home. Includes a CN105-to-Grove cable.
Not for everyday use. The Serin Link connects wirelessly to the controller without using your home Wi-Fi. The controller uses Wi-Fi for updates and remote features. You can use the Serin Link to help connect the controller to Wi-Fi or change its network.
A Serin Controller at each indoor unit, or an ESPHome climate device running the serin_link component. The Serin Link does not talk to the heat pump directly.
It provides temperature controls and a room sensor, but it needs a separate controller to operate the heat pump. The Serin Link shows the current settings and lets you change them. Changing the target temperature on the Serin Link also updates it in your smart home app, and vice versa.
Swipe left or right on the home screen to switch rooms. To open the room list, press and hold the knob or tap the room name.
When idle, the screen shows a dim room temperature reading. You can set it to turn off instead. The first touch, knob turn, or knob press wakes the screen without changing any settings.
The assembled Serin Link arrives with firmware installed. For the DIY kit, assemble the kit with your separately purchased VIEWE 1.5-inch display, then install the free, open-source firmware through the Serin Link browser flasher. Use Chrome, Edge, or Brave on a computer and connect with a USB data cable. See the build guide for the steps.
serin_link component.After it arrives
Power it over USB-C, press the knob to pair with your controller, then set it where you sit.