 serin labs
Your Mitsubishi Mini-Split Reads the Wrong Temperature. Here's the Fix.
Set your mini-split to 70°F, sit down, and wait. The unit says it's satisfied. Your couch says otherwise. If you've lived with a Mitsubishi wall unit for even one winter, you know this argument.
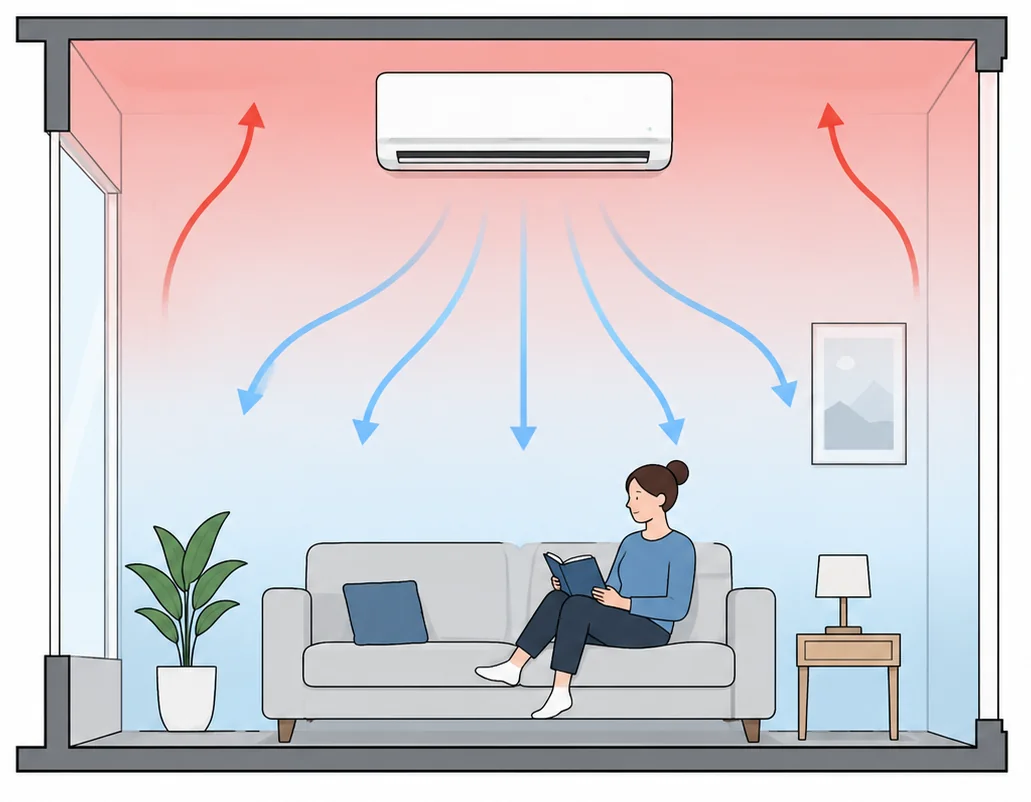
It's not broken. It's measuring the wrong air. The temperature sensor lives inside the indoor unit, up at the ceiling, reading the air being pulled back into the coil. Warm air stratifies, so in heating season that air runs a few degrees warmer than the air at head height. The unit hits its number and throttles back while the room you actually occupy is still cold.
Mitsubishi knows this. It's the main pitch behind their wall controllers: the MHK2 and PAC-SDW01RC-1 both sense temperature at the wall, where you are, and feed that reading to the unit. That fix costs $179–$475. In this guide, I'll show you how the Serin controller does the same thing with a sensor that costs about $15, with either of the free open-source firmwares you can flash onto it.
Quick Facts
- The problem: the built-in thermistor reads return air at the indoor unit, near the ceiling, not room-level air.
- The fix: feed the unit a temperature from a sensor placed where you sit. The CN105 protocol supports this natively; it's what the wall controllers do.
- ESPHome firmware: use any temperature sensor already in Home Assistant. Zigbee, Z-Wave, Wi-Fi, doesn't matter.
- Apple Home firmware: use a cheap BLE thermometer (Govee, Xiaomi, SwitchBot, BTHome). Scan and save it from the web UI; no Bluetooth pairing.
- Cost: ~$15 for a sensor, if you don't already own one.
- Fallback: if the remote reading stops arriving, the unit reverts to its internal sensor.
Why the Built-In Sensor Misses
A mini-split's indoor unit mounts high on the wall. Its thermistor samples the return air it's about to condition, which is the most convenient air for the engineers and the least representative air for you.
Two things skew it. Stratification puts the warmest air in the room at the ceiling, right where the sensor is. And the unit's own airstream recirculates: some of the air it just heated gets pulled straight back into the intake, so the sensor partly measures the unit's output instead of the room.
The result is the familiar pattern. In heating, the unit satisfies early and coasts while the room lags cold. In cooling, the effect inverts. Either way, the setpoint on the remote stops meaning what it says, and you end up running the unit a few degrees past where you actually want the room as a workaround.
That workaround is what a remote sensor eliminates.
The Fix Is Built Into CN105
Here's the useful part: the Mitsubishi control protocol already accepts an external temperature. That's not a hack, it's how the MHK2 and the wired PAC-SDW01RC-1 work. They measure at the wall and hand the unit that number over the same CN105 port the Serin controller plugs into. The unit then regulates against the number it's given.
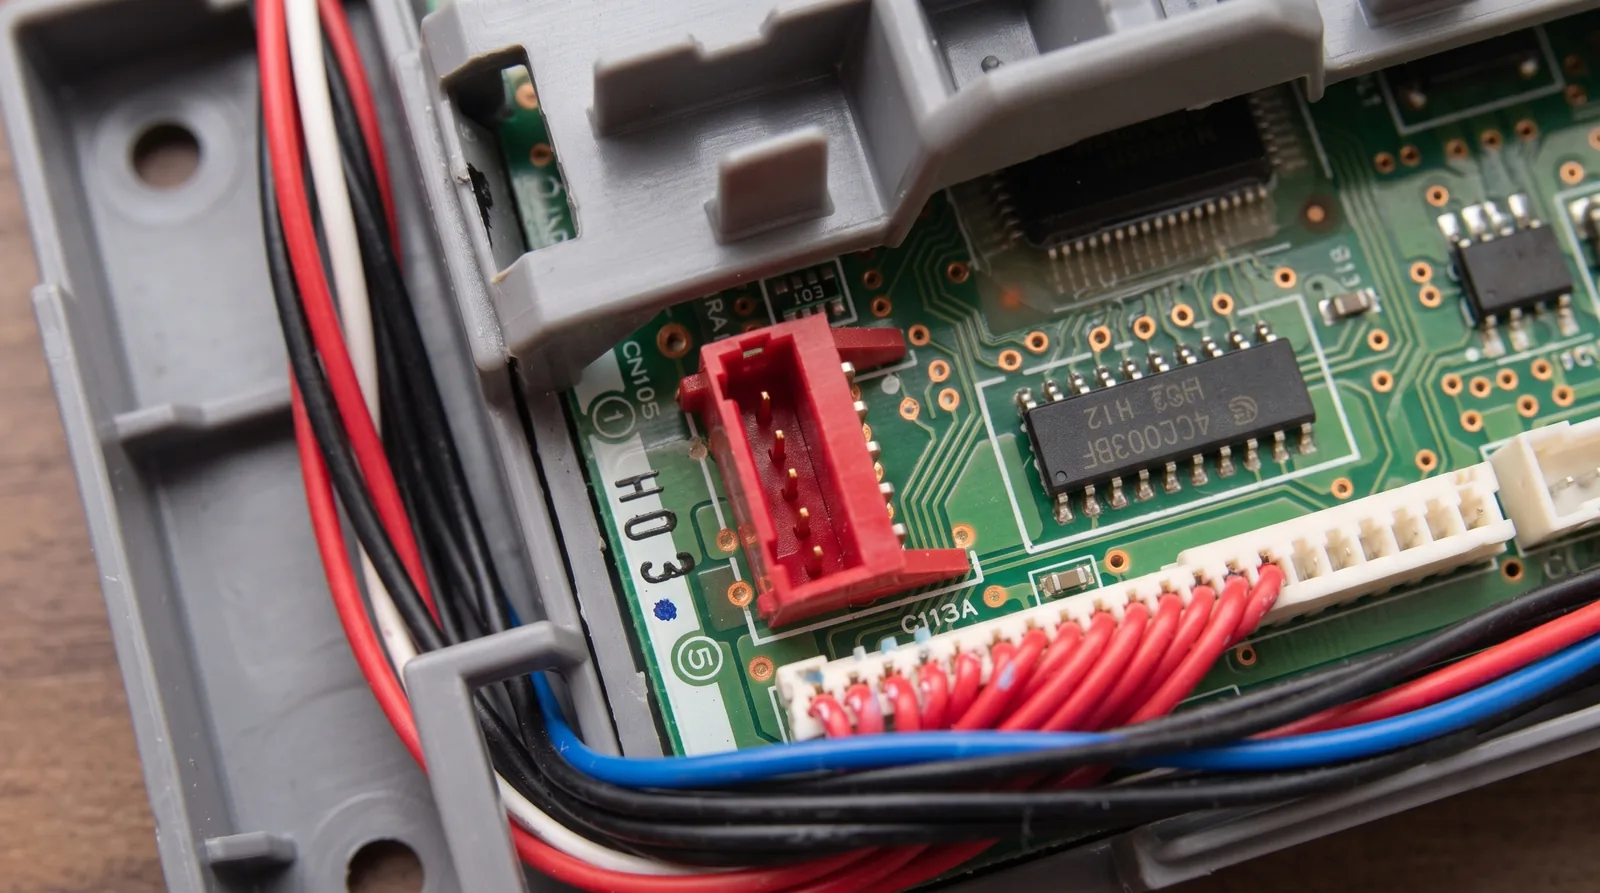
So the only question is what supplies the number. A $415 wall thermostat can. So can a $15 sensor talking to an ESP32 board. The heat pump can't tell the difference, and I covered the full wall-controller comparison in its own post.
The Serin controller does it differently depending on which firmware you flashed. Both paths end at the same place: the unit regulates off room-level air.
ESPHome: Use Any Sensor Home Assistant Has
If you run the ESPHome firmware with Home Assistant, you almost certainly own a temperature sensor already. Any entity in Home Assistant works: a Zigbee sensor on the bookshelf, a Z-Wave multisensor, the thermometer half of an air quality monitor. If Home Assistant can see it, your mini-split can regulate off it.
The YAML generator wires this up for you. Answer "yes" to the remote temperature sensor question, paste in your entity ID (something like sensor.living_room_temp), and push the config over Wi-Fi. Under the hood, the generated config imports the sensor from Home Assistant and forwards each reading to the heat pump:
sensor:
  - platform: homeassistant
    entity_id: ${remote_temp_sensor}
    filters:
      - clamp:
          min_value: 1
          max_value: 40
          ignore_out_of_range: true
      - throttle: 30s
    on_value:
      then:
        - lambda: 'id(hp).set_remote_temperature(x);'
Two details in there worth knowing. Readings are throttled to one every 30 seconds, which is plenty for a system with the thermal mass of a room. And values are clamped to 1–40°C, the range Mitsubishi units accept, so a glitchy sensor can't feed the unit garbage.
One dependency to be honest about: this path runs through Home Assistant. The sensor's reading reaches the controller over the Home Assistant API, so if HA is down, the remote readings stop until it's back.
Apple Home: A BLE Thermometer, No Pairing
The HomeKit-compatible firmware takes a different route, and it's my favorite feature of that build. The controller reads Bluetooth Low Energy thermometers directly. No hub, no Home Assistant, no Bluetooth pairing ceremony. You open the controller's web UI, run a scan, pick your thermometer from the results, and save it. The firmware works out the sensor type from its BLE advertisements, so there's nothing to configure beyond choosing the right device.
Supported sensors, per the feature list:
- Govee: H5072, H5075, H5074, H5051, H5052, H5071, H510x
- Xiaomi LYWSD03MMC and CGG1 running the PVVX custom firmware
- SwitchBot: the Meter family
- BTHome v2: Shelly and generic BTHome devices
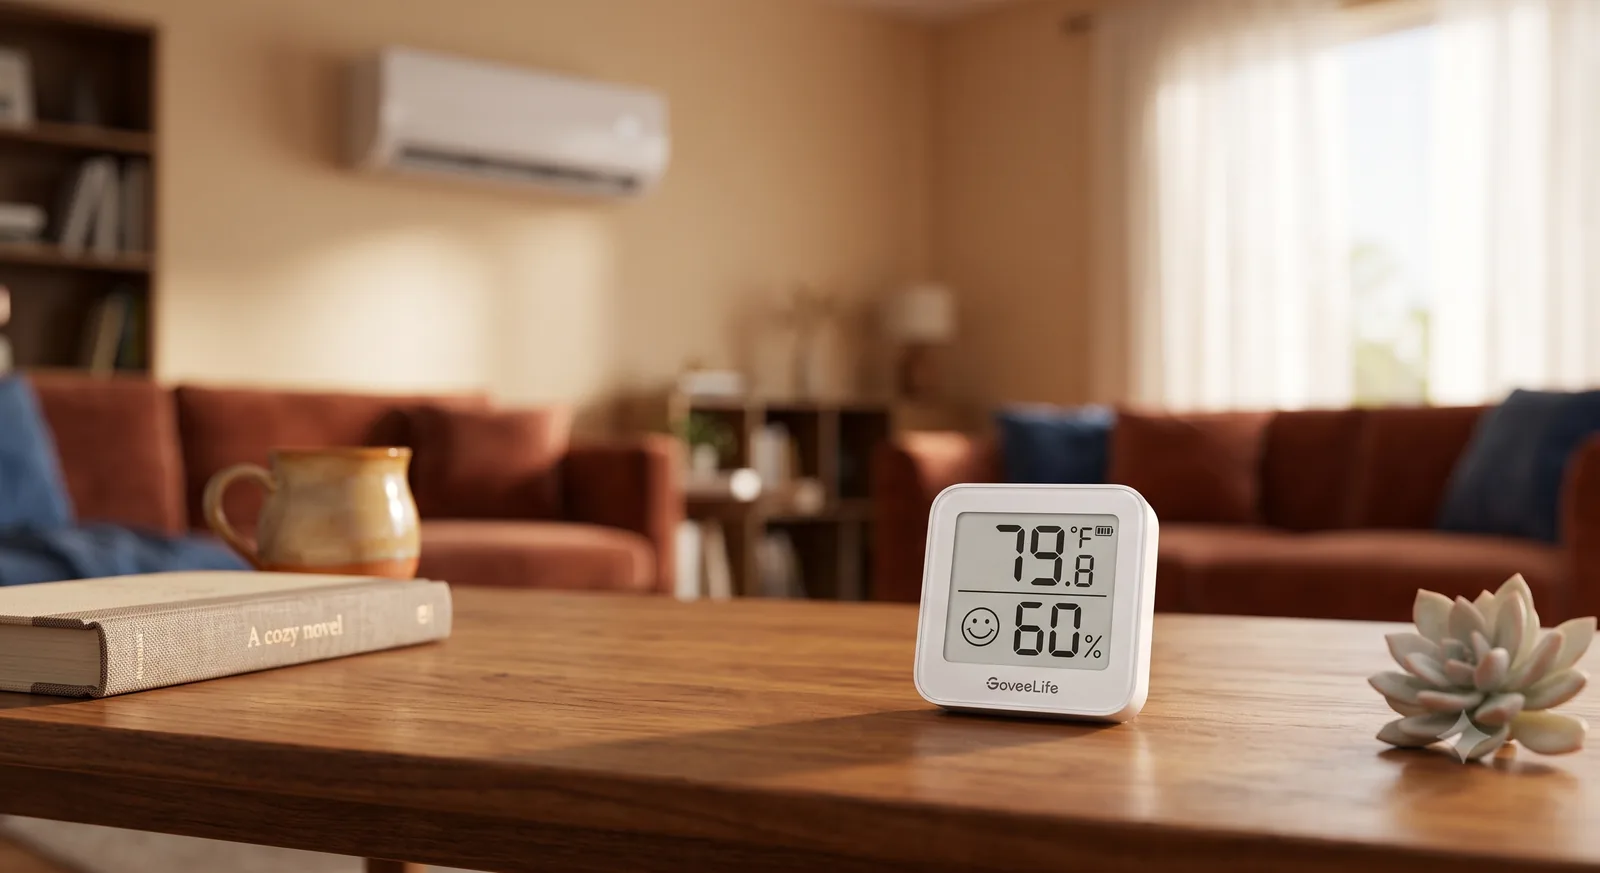
The Govee H5075 and the little square Xiaomi LYWSD03MMC are the usual picks. Both hover around $10–15, run for many months on their batteries, and have a display, so the sensor doubles as a room thermometer you can glance at.
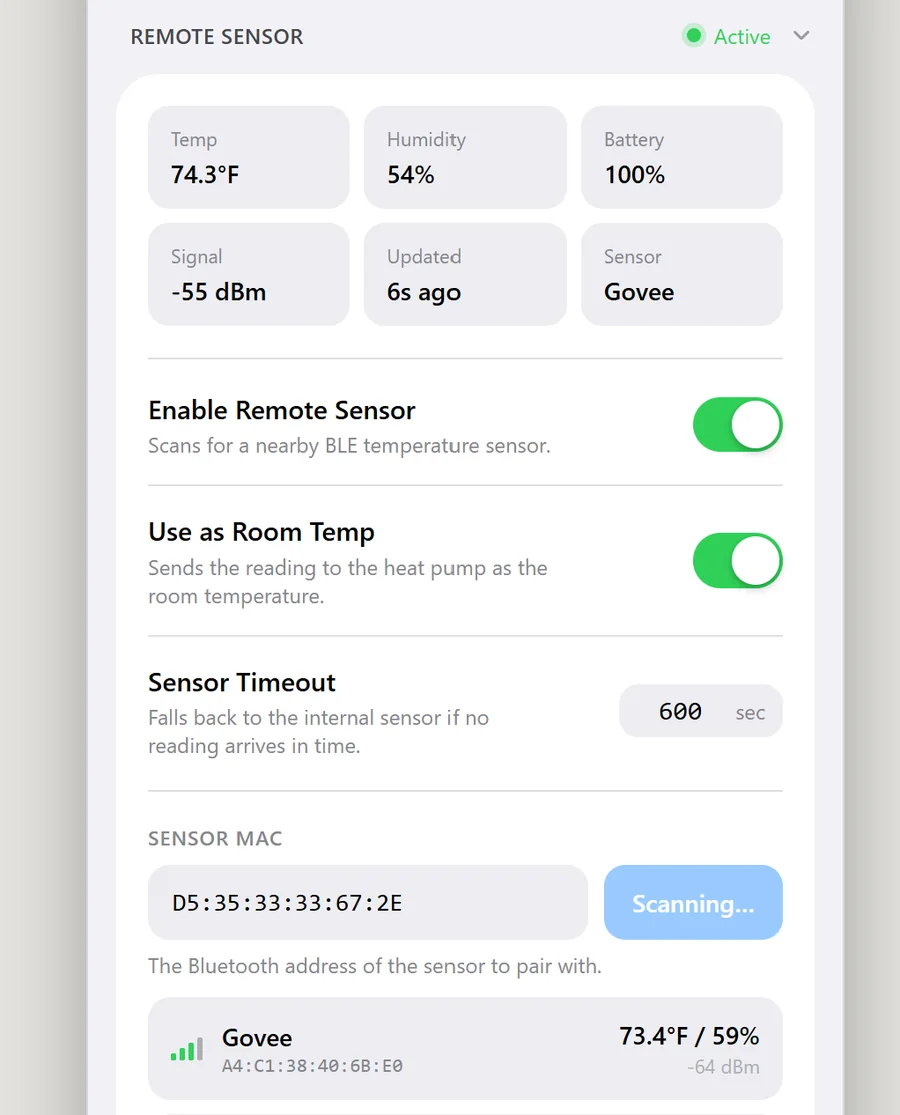
The controller's web UI shows the sensor's live temperature, humidity, battery level, signal strength, and when it last reported. There's a toggle to enable or disable feeding the reading to the heat pump, so you can watch the sensor for a day before you commit.
And there's a safety net I want to call out: if BLE data stops arriving (dead battery, sensor carried out of range), the heat pump automatically falls back after its stale timeout to its internal thermistor. Worst case, you're back to stock behavior, not a unit chasing a stale number.
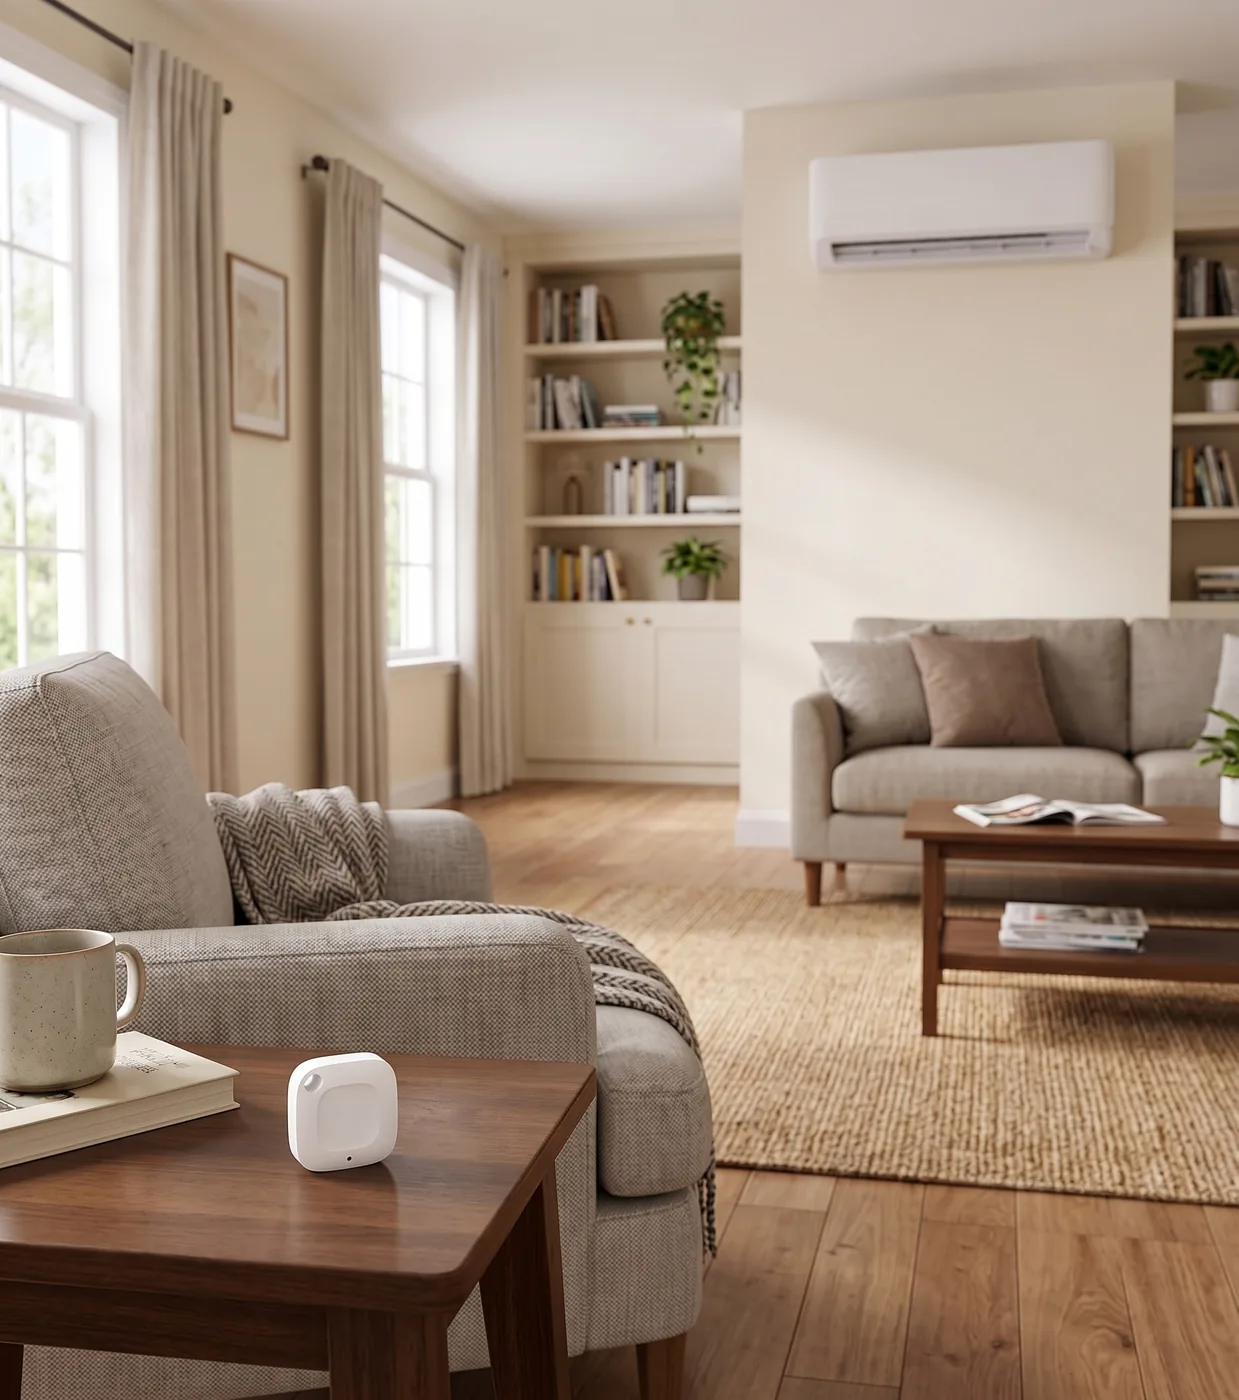
Where to Put the Sensor
Placement is the whole point, so spend a minute on it. The goal is air that represents where you live in the room.
- Head height, roughly. Seated height in a living room, a nightstand in a bedroom.
- Out of the unit's airstream. Don't let the mini-split blow conditioned air across the sensor, or you've rebuilt the original problem with extra steps.
- Away from heat sources and sun. Not on top of the TV, not on a windowsill, not above a radiator.
- Not on an exterior wall if you can help it. The wall itself skews the reading in both seasons.
For the BLE path, also keep it within Bluetooth range of the controller, which sits inside the indoor unit. Same room is no problem.
Side by Side
| Built-in thermistor | MHK2 / wired controller | Serin + remote sensor | |
|---|---|---|---|
| Senses at | Ceiling, return air | The wall it's mounted on | Anywhere you place the sensor |
| Added cost | $0 | ~$179–$475 | ~$15, or $0 if HA already has a sensor |
| Sensor placement | Fixed | Fixed to the wall mount | Any shelf, desk, or nightstand |
| App / Siri / HA control | No | No (app needs add-on adapter) | Yes |
| Fallback if sensor fails | — | — | Reverts to internal thermistor |
| Uses the CN105 port | — | Yes | Yes |
The placement row is the one I'd underline. A wall controller senses wherever the wall happens to be, which is better than the ceiling but still a compromise picked during installation. A wireless sensor moves. Rearrange the furniture and it goes with you; carry it to the nightstand for the summer. The setpoint follows you.
Which Setup Should You Use?
- You run Home Assistant and own any temperature sensor. Use the ESPHome path. It's a one-question option in the YAML generator and costs you nothing.
- You're on the Apple Home firmware. Buy a Govee H5075 or a PVVX-flashed Xiaomi, set it on a shelf, then scan and save it from the web UI. About $15, no pairing.
- You want a physical wall thermostat and no network anywhere in the loop. That's the one case for the Mitsubishi wall controllers, and I mean that sincerely. Here's the honest comparison.
If you're ordering the pre-assembled Serin Controller, there's an optional wireless remote temperature sensor at checkout, so you can solve this in one order.
The Short Version
Your mini-split isn't bad at holding temperature. It's holding the wrong temperature, faithfully, because its sensor lives at the ceiling. Every fix for this, Mitsubishi's included, comes down to feeding the unit a reading from where you actually are. The wall controllers charge $179–$475 for that. A $15 sensor and the controller you may already have do the same job, with the sensor on whatever shelf you like.
- Check that your unit has a CN105 port.
- Get the board and cable or the pre-assembled controller, and flash your firmware.
- Add the sensor: an entity ID in the YAML generator for ESPHome, or scan and save a BLE thermometer from the web UI for Apple Home.
Set it to 70. Sit down. This time the number is about you.
Related
- Check your unit for a CN105 port
- Get the hardware
- Cheaper alternative to the MHK2
- Build a config with the YAML generator
Next step
Check your unit first
Type your indoor unit's model number for a verdict in under a minute. If it fits, the firmware flashes in the browser in about two minutes.