 serin labs
Set up your controller
Setup takes about 15 minutes: connect the controller to your unit, join Wi-Fi, then add it to your smart home platform.
Setup takes about 10 minutes and two steps: connect the controller to your unit, then add it from your smart home app. The app hands the controller your Wi-Fi details as it adds it, so there is no separate Wi-Fi step.
Setup takes about 15 minutes: connect the controller to your unit, join Wi-Fi, then add it to Apple Home. Your device runs the HomeKit build, so this page shows only the HomeKit steps.
Setup takes about 15 minutes: connect the controller to your unit, join Wi-Fi, then adopt it in Home Assistant. Your device runs the ESPHome build, so this page shows only the ESPHome steps.
Setup takes about 10 minutes and two steps: connect the controller to your unit, then add it from your smart home app. Your device runs the Google Home & Alexa build, which is handed your Wi-Fi details as it is added, so there is no separate Wi-Fi step.
- 1Connect to your unitConnect
- 2Join Wi-FiJoin
- 3Add to Apple HomeAddAdopt in Home AssistantAdopt
- 2Add from the appAdd
- Done
You will need
- A flashed Serin Controller, or an ESP32 board with a CN105 cable
- A screwdriver to open the indoor unit's cover
- Your home Wi-Fi password
- An iPhone or iPad. For remote access and automations, an Apple Home Hub (Apple TV or HomePod)
- Home Assistant with the ESPHome add-on installed
- The Google Home or Amazon Alexa app, and its hub, if it needs one
Good to know
- No crimping or soldering is required. The pre-assembled controller and ready-made cables plug straight into the CN105 port.
- Pairs through the HomeKit Accessory Protocol (HAP). It is not an Apple-certified (MFi) accessory.
- Built on echavet's open-source MitsubishiCN105ESPHome component.
- This build is in beta. It is newer and less tested than the ESPHome and Apple Home builds. If you want the most proven setup today, use one of those instead.
- Runs over Wi-Fi. It is not certified by Google or Amazon, so your app will warn about an uncertified accessory when you add it.
Connect to your unit
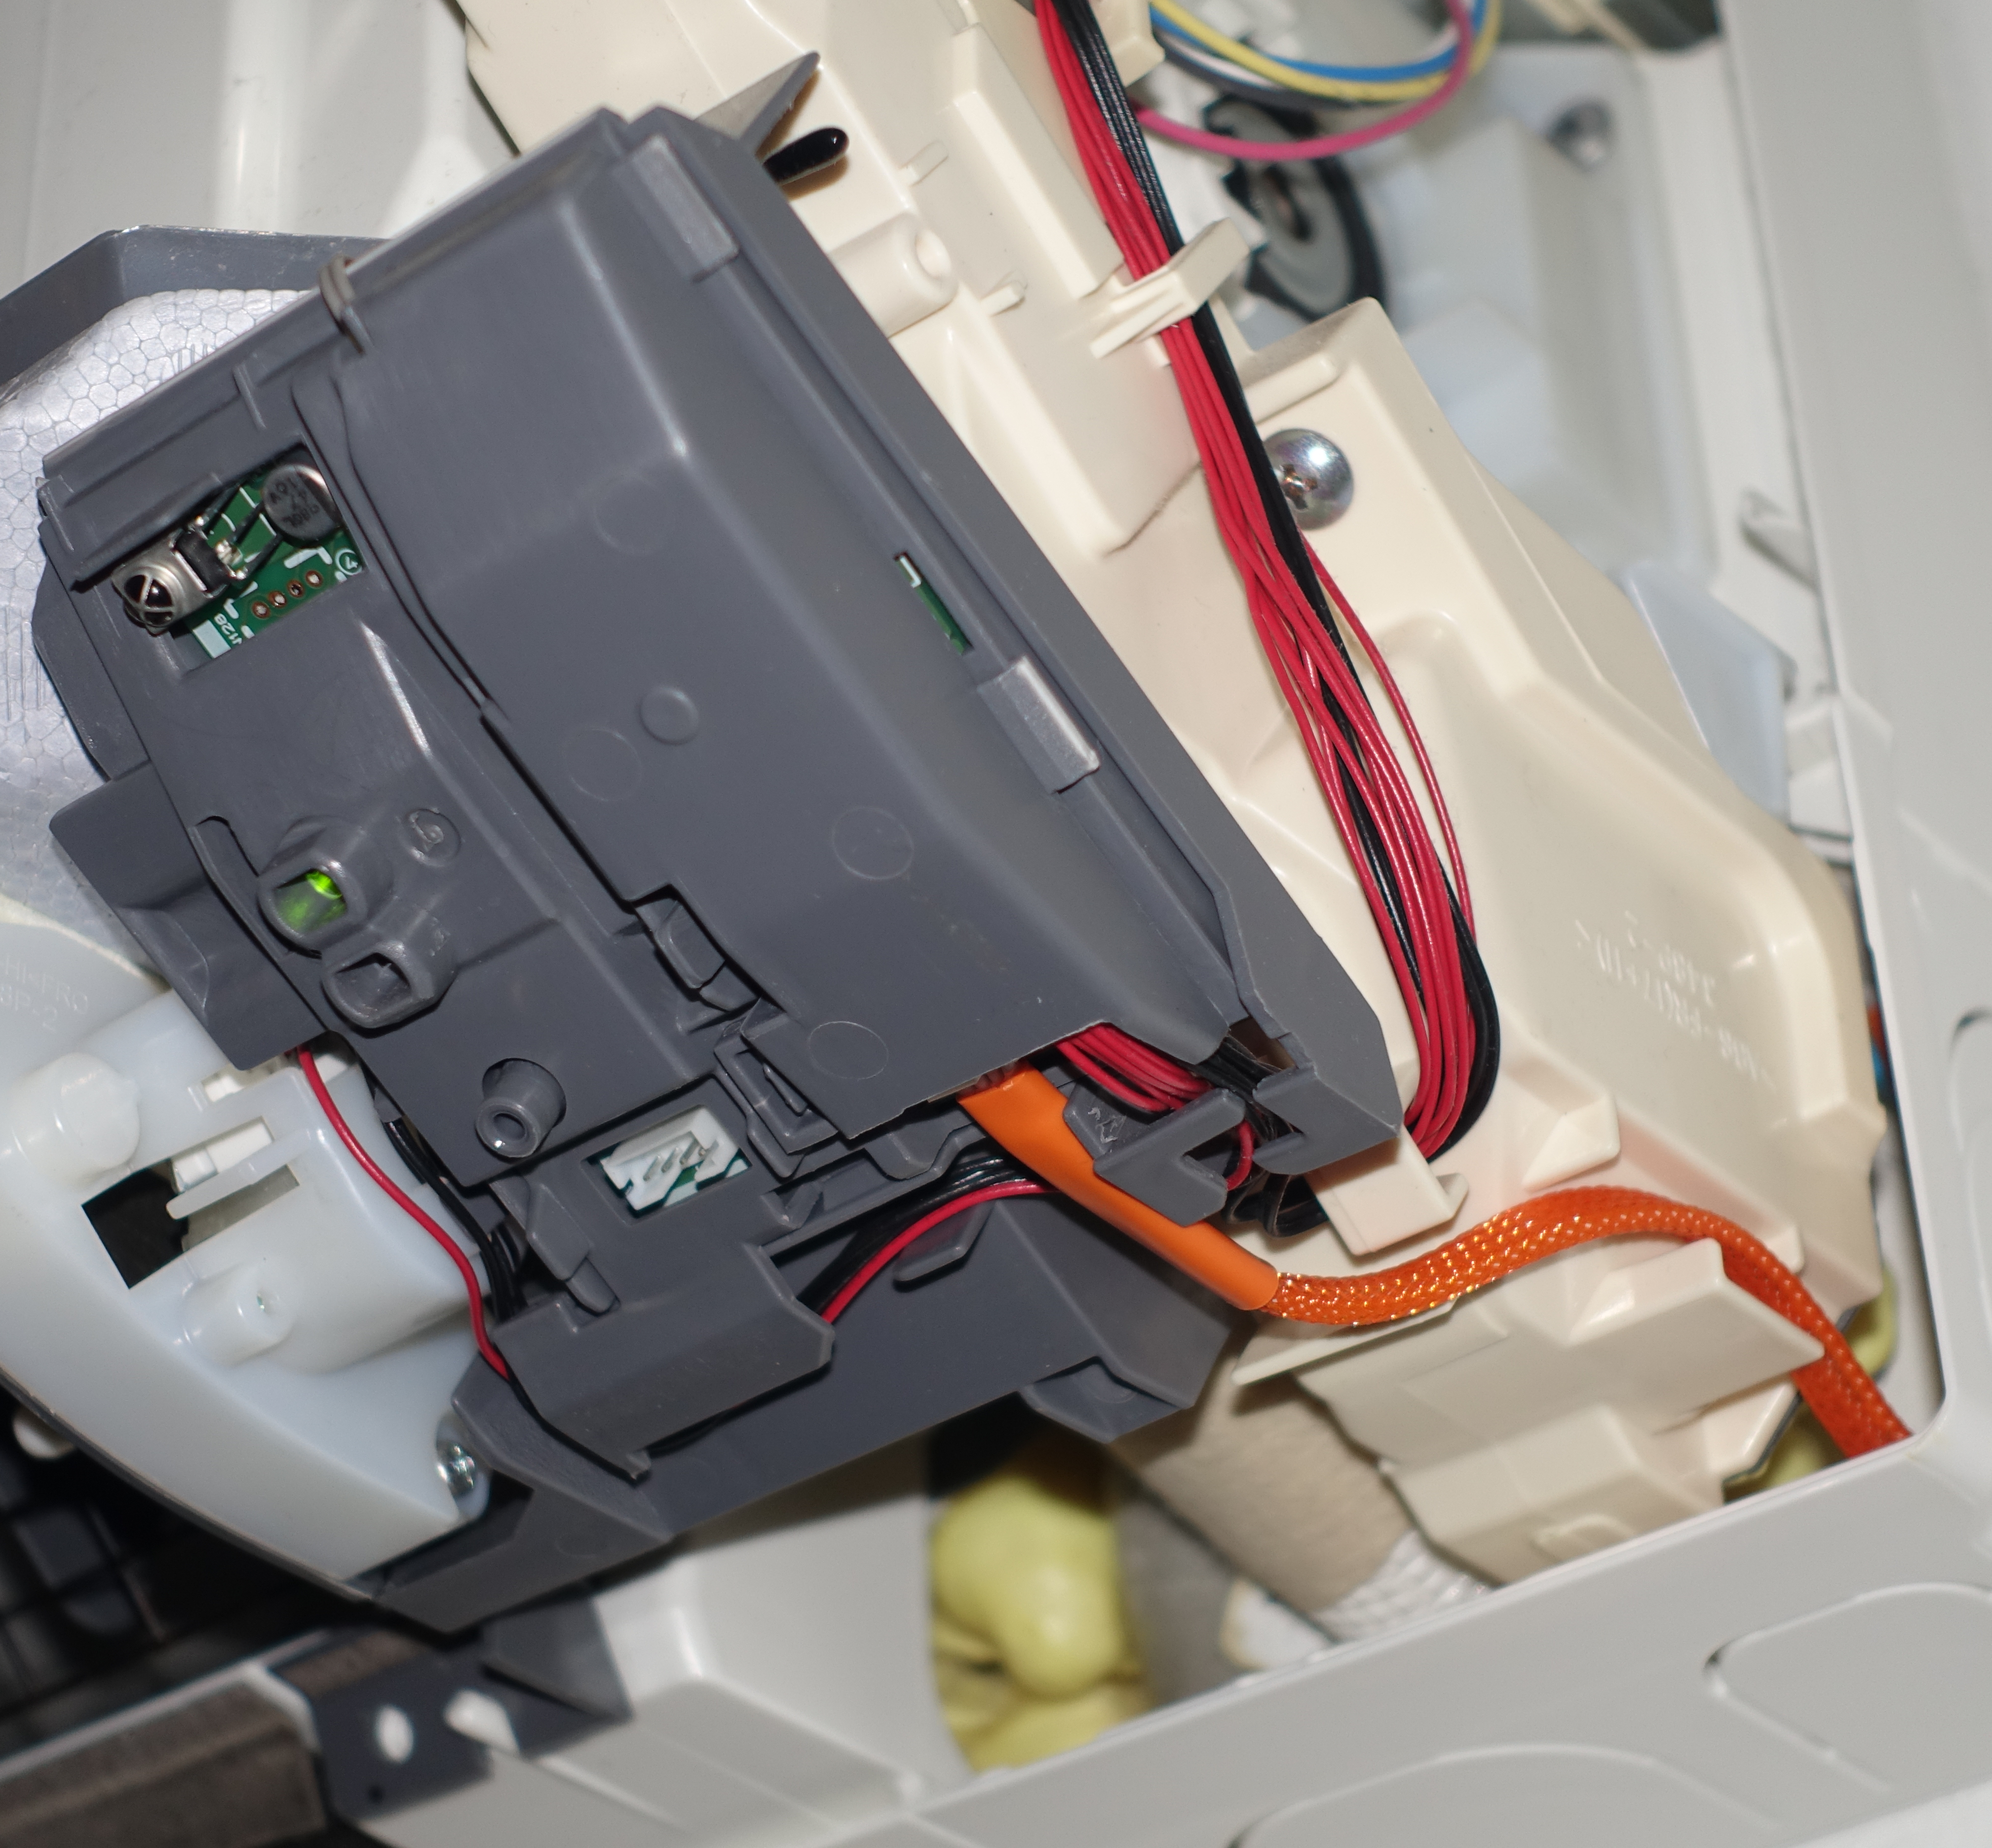
- Turn off power to the indoor unit at the breaker, not just at the remote. Open the cover and find the CN105 connector (usually red, sometimes white).
- Plug the CN105 connector into the unit and the Grove connector into the device.
- Place the device inside the unit, reinstall the cover, and restore power.
CN105 is the only connector that needs to be handled. The rest of the control board carries line voltage, so leave the breaker off until the cover is back on. If you are not comfortable working inside the indoor unit, have an HVAC technician make the connection.
If you do not have the hardware yet, get the pre-assembled Serin Controller with the cable included, or a ready-made CN105 cable on its own.
Join Wi-Fi
On first boot the device creates a hotspot named Serin-XXXX (XXXX = the last four characters of its Wi-Fi address).
- On your phone, join the Serin-XXXX network with the password
serinlabs. - A setup page opens. Enter your home Wi-Fi name and password.
- The device saves your credentials and reboots onto your network.
Set up Wi-Fi over USB instead, or if the portal does not open
On a computer with Chrome or Edge, plug the device in over USB and click the button below to pick your network. Web Serial is not available on phones or in Safari and Firefox.
If the hotspot's setup page does not open by itself, go to http://192.168.4.1 in a browser.
Scan the code with your phone to join your device's hotspot. A portal opens for your home Wi-Fi name and password; the device saves them and reboots onto your network. If you set Wi-Fi during flashing, skip to Step 3.
Join the hotspot manually, or set up over USB
serinlabs. If the portal does not open, go to http://192.168.4.1. On a computer with Chrome or Edge you can instead set up Wi-Fi over USB (Improv Serial).Add to Apple Home
- In a browser, open the device's web UI at
http://Serin-XXXX.local. If.localdoes not resolve, use the device IP from your router. - Scan the QR code in the HomeKit panel with your iPhone or iPad.
Add with the setup code instead
Once the device is on your Wi-Fi, scan the pairing code with your iPhone or iPad. The Home app opens and adds the accessory.
Add with the setup code instead
Add to Google Home or Alexa
Stand near the unit with your phone. The first part of adding the device happens over Bluetooth.
- Open the app you want to control it from, whether that is Google Home, Alexa, Apple Home or Home Assistant, and start adding a device.
- Scan the QR code, or type the 11-digit pairing code. The flash page shows both right after installing, and the device prints them on its serial console at every boot.
- The app asks which Wi-Fi network to put it on and hands the details to the board. When it finishes, the mini split appears as a thermostat.
Your app will warn that the accessory is uncertified
Stand near the unit with your phone, since the first part of this happens over Bluetooth. Open the app you want to control it from, add a device, and scan the code. It asks which Wi-Fi network to use and hands the details to the board.
Add with the pairing code instead
Adopt in Home Assistant
Once the device is on your Wi-Fi, the ESPHome Dashboard discovers it automatically.
No pairing code needed. Once serin-XXXXXX is on your Wi-Fi, the ESPHome Dashboard discovers it automatically.
- Open the ESPHome Dashboard in Home Assistant (Settings → Add-ons → ESPHome).
- The device appears as a Discovered tile. Click Adopt and give it a name such as
living-room. - Click Install to push a personalized configuration over Wi-Fi. This takes a few minutes.
- Home Assistant then finds the adopted device. Click Configure in the notification under Settings → Devices & Services.
Device not discovered?
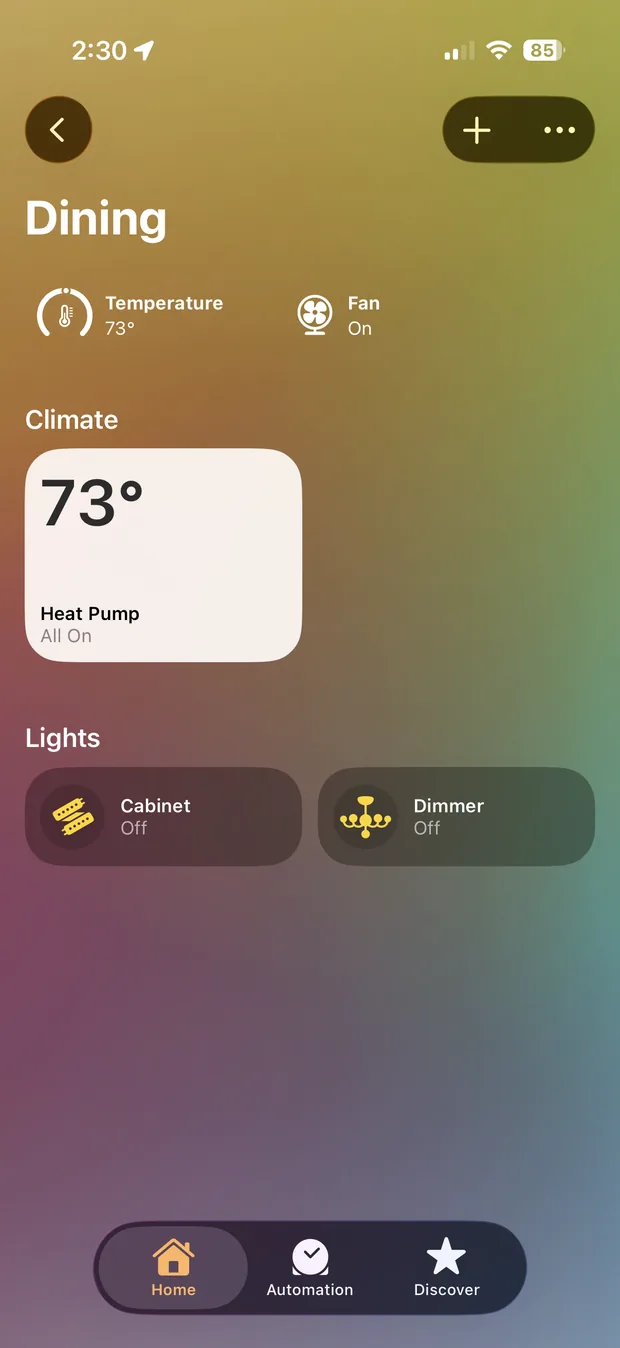
Setup complete. You can now control the unit by tap or Siri.The unit now appears as a climate entity in Home Assistant.The unit now appears as a thermostat in whichever app you added it from. The sections below are optional reference.
Optional reference
Built-in web UIBuilt-in web UI, with a QR shortcut for your device
http://Serin-XXXX.local or the device IP. Thermostat and vane control, diagnostics, settings, and live logs.Open http://Serin-XXXX.local, or scan the QR shown here. Thermostat and vane control, diagnostics, settings, and live logs.Monitor and control the unit from any browser.
Changing its Wi-Fi later
serinlabs and enter the new details at http://192.168.4.1.Updating the firmware later (OTA)
Updating the firmware later (OTA)
Customize with the YAML generator
Reading the status light
Reading the status light
Multiple indoor units
Troubleshooting and Wi-Fi recovery
192.168.4.1 to enter new credentials, or hold the board button for ten seconds to erase them (the light turns red at seven seconds to warn you before the erase fires). See the full troubleshooting guide.If you get stuck, check the troubleshooting guide, ask in Discord, or open an issue on GitHub. See the licenses page for what each build is made of.